10 Essential Woodshop Organization Hacks for Beginners
Share
You're tired of wasting time searching for tools and materials in your cluttered woodshop. It's time to get organized! Start by designating a home for each tool and creating a pegboard system to maximize storage. Don't forget to utilize vertical space and label everything so you can find what you need at a glance. Implement a cord management system and store small parts efficiently to reduce clutter. Optimize your work flow layout and manage your dust collection system to keep your shop clean. Finally, schedule regular clean-ups to maintain your new organized space. Now, take the next step towards a more efficient woodshop.
Key Takeaways
• Designate specific spots for each tool and categorize them for easy access and efficient storage.
• Utilize tool racks, storage bins, and wall-mounted chests to maximize vertical storage space and reduce clutter.
• Label toolboxes, storage bins, and workstations with clear signs and color-coded tags for quick identification.
• Set up zones for different tasks and strategically place tools and materials to minimize walking distances and reduce congestion.
• Implement a pegboard system and central hubs for tools to streamline tool access and improve workflow optimization.
Designate a Home for Tools
Assign a designated spot for each tool to prevent clutter and wasted time searching for misplaced items. This simple habit will save you hours of frustration in the long run. Start by categorizing your tools into groups, such as hand tools, power tools, and accessories. Then, allocate a specific storage space for each group.
Consider investing in a tool rack or storage bins to keep your frequently used tools within easy reach. A wall-mounted tool chest is also a great option for storing smaller items like screws, nails, and drill bits. Label each storage container so you can quickly identify what's inside.
Create a Pegboard System
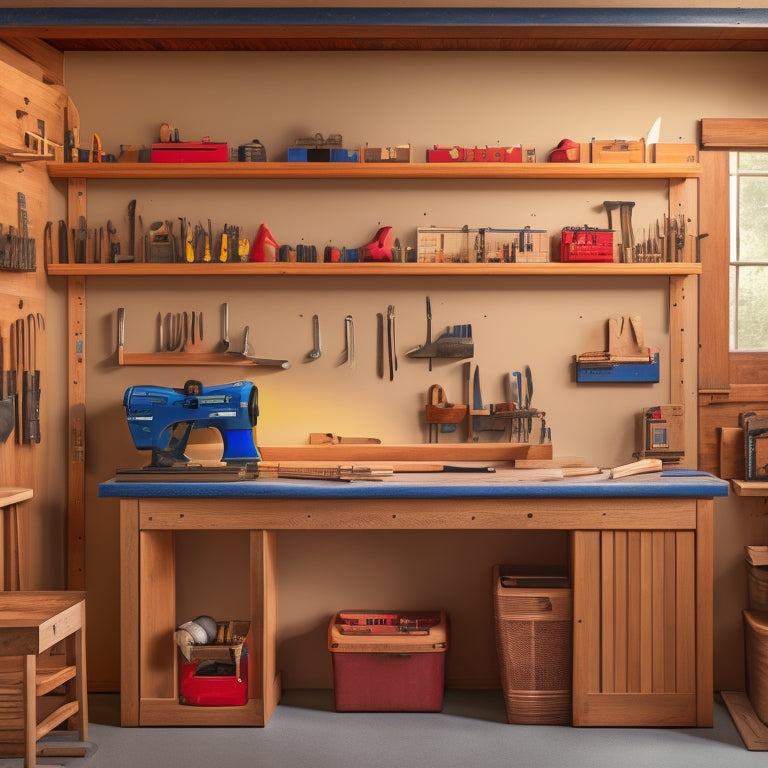
By installing a pegboard system, you'll be able to maximize your wall space and keep frequently used tools and accessories within easy reach. This is especially important in a woodshop where tool organization is pivotal for efficiency and productivity. A pegboard system allows you to hang tools and accessories, freeing up floor and workbench space, and keeping them organized and easily accessible.
Here are some essential tools and accessories to keep in mind including on your pegboard system:
| Tool/Accessory | Frequency of Use |
|---|---|
| Hammer | High |
| Tape measure | High |
| Pliers | Medium |
| Safety glasses | High |
| Clamps | Medium |
| Marking gauge | Low |
Utilize Vertical Storage Space
Take advantage of your woodshop's often-wasted vertical space by installing shelves, cabinets, or racks that hold less frequently used items, freeing up valuable floor and workbench real estate. This will give you more room to work on projects and reduce clutter.
Consider vertical tool racks, which are space-saving solutions that keep your tools organized and within reach. You can also utilize overhead storage for items like infrequently used machinery, seasonal decorations, or even storage bins.
Maximizing your woodshop's height will make a significant difference in its overall organization. Install overhead storage units or bins to keep items like lumber, pipes, or other long materials off the floor. This won't only free up space but also reduce tripping hazards and make it easier to navigate your workshop.
Label and Sign Everything
To eliminate confusion and save time, you'll want to label and sign everything in your woodshop, from toolboxes and storage bins to workstations and machinery. This simple step will help you quickly identify what's inside a container or which machine is which, making your work process more efficient.
Use color-coded tags to categorize similar items, such as grouping all your sanding tools together. This visual system will help you locate what you need at a glance.
Magnetic labels are another great option for labeling your metal toolboxes, machines, and storage bins. They're easy to apply and can be easily removed if you need to reorganize.
Consider labeling your workstations with the project name, deadline, and any important notes to keep yourself on track. You can also label your machinery with safety instructions, maintenance schedules, or troubleshooting tips.
Implement a Cord Management
Now that you've got your tools and supplies labeled, it's time to tackle the tangled mess of cords that's likely plaguing your woodshop.
You'll want to implement a cord management system that keeps your cords organized, untangled, and easily accessible.
Cordless Tool Storage
By designating a specific area for cordless tool storage and implementing a cord management system, you'll be able to quickly locate the tool you need and prevent clutter from building up in your woodshop. This designated area should be easily accessible and close to a power source, making it convenient for battery charging.
When storing your cordless tools, consider using a pegboard or a tool organizer with individual compartments. This will keep your tools organized, protected, and prevent them from getting damaged. It's also essential to store your tools with their batteries, making it easy to grab and go when you need them.
Regular tool maintenance is also vital to extend the life of your cordless tools. Store your tools in a clean and dry environment, and avoid exposing them to extreme temperatures.
By following these simple tips, you'll be able to keep your cordless tools in top condition, ensuring they're always ready for your next project.
With a well-organized cordless tool storage system, you'll save time, reduce frustration, and increase your productivity in the woodshop.
Labelled Cord Spools
You'll also need a system to manage the cords that come with your cordless tools, and labelled cord spools can be a game-changer in keeping your woodshop organized and clutter-free. A well-implemented cord organization system will boost your workshop efficiency, saving you time and reducing frustration.
Here are three benefits of labelled cord spools:
-
Easy Identification: Labels help you quickly identify which cord belongs to which tool, eliminating the need to search through a tangled mess.
-
Reduced Clutter: Organized cords mean less clutter on your workbench, giving you more space to focus on your projects.
-
Increased Accessibility: With labelled spools, you can easily find the cord you need, making your tools more accessible and ready to use when you need them.
Organize Workbench Clutter
Cluttered workbenches hinder productivity and increase the risk of accidents, so take control by assigning a home to each tool and supply. You can start by creating DIY tool holders using wooden blocks or pegboards to keep frequently used tools within easy reach.
For hardware storage, consider installing a slatwall or a pegboard with bins and hooks to store nuts, bolts, and screws.
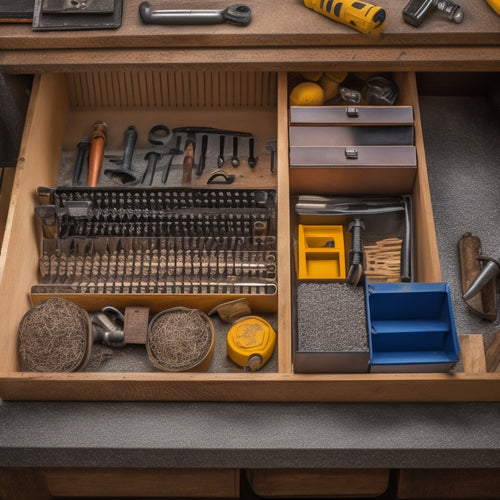
Next, think about custom shelving and drawer dividers to keep your workbench organized. Designate specific shelves for specific tasks or projects, and use drawer dividers to separate small parts and supplies. This will help you quickly find what you need, saving you time and frustration.
Additionally, consider investing in a workbench mat or tray to corral small items and prevent them from getting lost or damaged. By implementing these organizational strategies, you'll be able to work more efficiently and safely, and enjoy a more streamlined woodshop experience.
Store Small Parts Efficiently
Now that your workbench is organized, it's time to tackle the small parts that can easily get lost in the chaos, such as screws, nuts, and bolts, which require a dedicated storage system to keep them easily accessible and prevent them from getting mixed up or damaged.
To store small parts efficiently, you'll need a system that's both organized and visually appealing. Here are three essential storage solutions to get you started:
-
Drawer dividers and hardware bins: Separate your small parts into categories and store them in labeled bins or compartments within your drawers. This will make it easy to find what you need at a glance.
-
Magnet strips: Use magnet strips to store small metal parts like screws, nuts, and bolts. This is especially useful for frequently used items that you want to keep within easy reach.
-
Stackable containers: Use stackable containers to store small parts like drill bits, saw blades, or other accessories. Label each container so you can quickly identify what's inside.
Optimize Work Flow Layout
As you set up your woodshop, optimizing your workflow layout is crucial to maximize efficiency and productivity.
You'll want to create zones for different tasks, strategically place tools and materials, and design a layout that minimizes walking distances and reduces congestion.
Zone Work Areas Efficiently
Set up your woodshop's work areas into distinct zones to streamline your workflow and reduce walking distances between tasks. This will help you stay focused and avoid wasting time searching for tools or materials. By creating separate zones for different tasks, you'll be able to complete projects more efficiently.
Here are three key benefits to zone work areas efficiently:
-
Reduced fatigue: By minimizing walking distances, you'll conserve energy and decrease tiredness.
-
Increased productivity: With tools and materials organized by task, you'll be able to complete projects more quickly.
-
Improved accuracy: A well-organized workspace reduces the chance of mistakes and errors.
When setting up your zones, consider the following:
-
Place tool racks in easy-to-reach locations to optimize floor space utilization.
-
Organize your tool cabinet to make sure frequently used tools are easily accessible, and store less frequently used tools towards the back or on higher shelves.
-
Designate specific areas for specific tasks, such as a sanding zone or a cutting zone, to keep your workspace organized and clutter-free.
Streamline Tool Access Points
By strategically positioning tool access points, you can shave precious minutes off your project timeline and maintain a smooth workflow. A well-organized tool layout is pivotal to maximizing your productivity and efficiency in the woodshop.
Start by designating a central hub for frequently used tools, such as a tool carousel or wall hooks, keeping them easily accessible and within reach. This will save you time and energy by reducing the need to constantly search for misplaced tools.
Portable toolboxes and magnetic strips can also be used to keep smaller tools and accessories organized and easily accessible. Consider labeling each toolbox or strip to quickly identify the contents, further streamlining your workflow.
Designate Material Storage
With your tool access points streamlined, you can now turn your attention to designating material storage areas, a crucial step in optimizing your workflow layout and keeping your woodshop running like a well-oiled machine. This is where material categorization comes into play. By grouping similar materials together, you'll save time searching for specific items and reduce project delays.
To take your material storage to the next level, consider these essential strategies:
-
Label and categorize storage bins: Clearly label each bin with its contents and category, making it easy to find what you need at a glance.
-
Implement shelf organization: Assign specific shelves for different types of materials, such as lumber, hardware, or finishes, to maintain a logical and accessible storage system.
-
Establish inventory tracking: Keep a record of your materials, including quantities and expiration dates, to make sure you're always stocked with what you need and avoid unnecessary purchases.
Manage Dust Collection System
You'll greatly reduce airborne dust and debris in your woodshop by implementing an effective dust collection system. This system is essential for maintaining a healthy and safe working environment. A good dust collection system consists of two main components: dust extraction and air filtration.
| Component | Description | Benefits |
|---|---|---|
| Dust Extraction | Removes dust and debris from your tools and machines | Reduces airborne dust, prevents damage to equipment, and makes cleanup easier |
| Air Filtration | Removes dust and particles from the air | Improves air quality, reduces respiratory issues, and prevents dust from settling on surfaces |
| Centralized System | Connects multiple tools and machines to a single dust collection unit | Simplifies dust collection, reduces clutter, and increases efficiency |
Schedule Regular Clean-Ups
Set a regular cleaning schedule to maintain your woodshop's organization and guarantee your dust collection system remains effective. As you work on projects, it's easy to let clutter build up, but neglecting clean-ups can lead to decreased productivity, safety hazards, and even damage to your tools and equipment.
By scheduling regular clean-ups, you'll experience several benefits:
-
Reduced stress: A clutter-free workspace helps you stay focused and in control.
-
More free time: Regular clean-ups save you time in the long run by preventing clutter from building up.
-
Improved safety: A clean shop reduces the risk of accidents and injuries.
Frequently Asked Questions
What Is the Ideal Temperature for a Woodshop to Prevent Tool Damage?
You'll want to maintain a consistent temperature between 60°F to 70°F in your woodshop to prevent tool damage, ensuring ideal humidity control and tool storage, while also supporting climate control and regular equipment maintenance.
Can I Organize My Woodshop in a Small, Rented Garage Space?
Don't worry that your rented garage space is small - you can still create a functional woodshop! You'll be amazed at how space-saving storage and creative tool layouts can maximize your area, letting you work efficiently and effectively.
How Often Should I Sharpen My Woodworking Hand Tools?
You should sharpen your woodworking hand tools regularly, ideally after every 1-3 uses, depending on the tool and usage. Implementing best sharpening techniques and frequency guarantees peak performance, extends tool life, and saves you time in the long run.
Are There Any Woodshop Organization Hacks for Left-Handed Woodworkers?
You'll find left-handed tool options and ergonomic setup essential for comfort and precision; consider a mirrored workbench layout and efficiency tips, like reversing tool placement, to optimize your workflow and reduce fatigue.
Can I Use Plastic Bins to Store Woodshop Supplies and Materials?
You're likely tempted to toss woodshop supplies into plastic bins, but don't - they're not ideal for storing materials. Instead, explore woodshop storage solutions that cater to your specific needs, and reserve plastic bins for organization of smaller accessories.
Related Posts
-

Wall Mounted Hooks With Shelf for Maximum Storage
You'll find that wall mounted hooks with a shelf are a revolutionary solution for maximizing storage in your home, pr...
-

Best Screw Storage Bins for Organizing Your Toolbox
You need a reliable screw storage system to maximize your productivity and efficiency, and that's exactly what the ri...
-

What Are the Advantages of a Wooden Tool Box
You choose a wooden tool box, you're not only getting a reliable storage solution, but also a long list of benefits t...


