10 Essential Space-Saving Workshop Layout Ideas
Share
You're likely wasting valuable space in your workshop, but with these essential space-saving layout ideas, you can optimize your area and boost productivity. Start by utilizing wall-mounted shelves, hooks, and bins to reclaim floor space. Implement a modular workstation, and customize your layout with interchangeable modules. Don't forget to maximize your ceiling's storage potential with hanging tool organizers and ceiling-mounted shelves. Invest in mobile storage containers and foldable work tables to stay flexible. By applying these ideas, you'll be on your way to a clutter-free workshop where every tool has its designated spot, and you'll be excited to explore more ways to fine-tune your space.
Key Takeaways
• Utilize wall-mounted shelves, hooks, and bins to reclaim valuable floor space and maximize vertical storage in your workshop.
• Implement a modular workstation with portable workbenches and interchangeable modules to optimize floor space and adapt to changing project requirements.
• Create a compact tool zone with frequently used tools within easy reach, prioritizing placement and organization by frequency of use.
• Optimize workshop layout with carts, placing frequently used tools and materials on them for efficient tool placement and quick access.
• Maximize vertical space with ceiling-mounted shelves, floating shelves, and multi-tiered storage systems to create additional storage for infrequently used tools and materials.
Optimize Your Workshop's Vertical Space
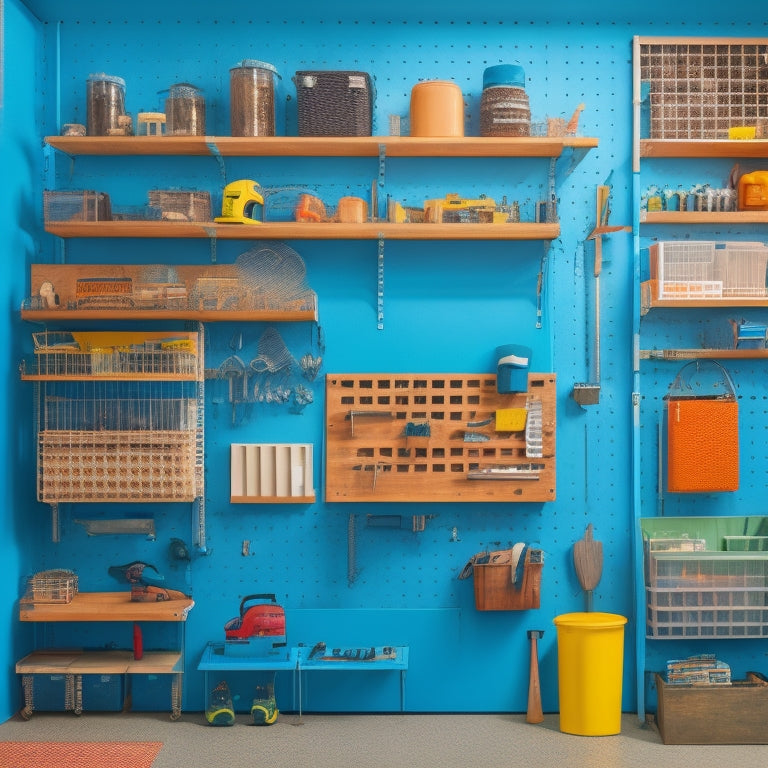
Use wall-mounted shelves, hooks, and bins to maximize your workshop's ceiling height, freeing up valuable floor space for larger equipment and projects. This will give you more room to move around and work comfortably.
You can also install suspended lighting to illuminate your work area without taking up floor or table space. Additionally, consider adding hanging planters to bring in some greenery and freshness to your workshop. This won't only purify the air but also create a calming atmosphere.
To take your vertical space optimization to the next level, incorporate wall-mounted shelves and vertical gardening into your workshop design. These will provide ample storage for your tools and supplies while keeping them organized and within easy reach.
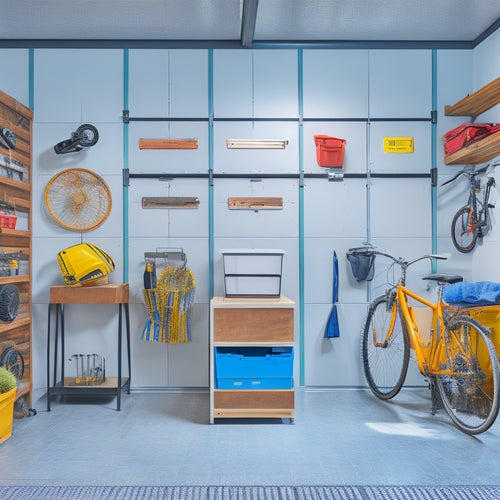
You can also use the walls to hang frequently used items like bikes, tools, or accessories, keeping them off the floor and out of the way. By utilizing your workshop's vertical space, you'll create a more efficient, organized, and functional work environment that allows you to focus on serving others through your craftsmanship.
Utilize Corner Storage Solutions
By cornering clutter with clever storage solutions, you'll reclaim valuable floor space and create a more navigable workshop. Corner areas are notorious for accumulating dust-gathering items, but with the right strategies, they can become functional hubs.
Install corner shelving to store infrequently used tools, keeping them organized and out of the way. These shelves can be adjustable, allowing you to customize the storage to fit your specific needs.
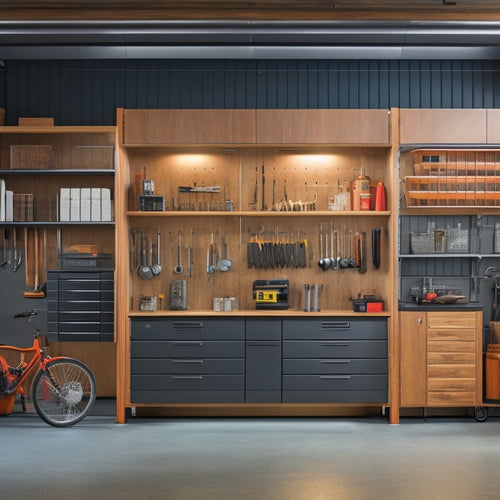
Wall-mounted cabinets are another effective way to utilize corner space. They provide secure storage for valuable or sensitive items, while keeping the floor clear for easier movement. Look for cabinets with adjustable shelves and doors that can be customized to fit your workshop's unique layout.
By maximizing your corner space, you'll create a more efficient and organized workshop that allows you to focus on the task at hand. With clever storage solutions, you'll be able to quickly find what you need, reducing frustration and increasing productivity.
Implement a Modular Workstation
As you set up your modular workstation, you'll quickly realize the benefits of a design that adapts to your needs. With flexible configurations, you can rearrange your tools and work surfaces to suit each project, maximizing your space and productivity.
Modular Design Benefits
You can maximize your workshop's efficiency and versatility by incorporating a modular workstation that adapts to your changing project needs. This design approach allows you to create a flexible workspace that can be easily rearranged to accommodate different projects and tasks. With portable workbenches and space-saving cabinets, you can optimize your floor space and reduce clutter.
One of the key benefits of a modular design is the ability to interchange modules and customize your layout as needed. This means you can quickly swap out tools and equipment to suit your current project, without having to dedicate valuable space to permanent installations. Additionally, interchangeable modules enable you to easily add or remove components as your needs change, ensuring your workshop remains functional and efficient.
Flexible Workspace Configurations
To create a flexible workspace configuration, start by dividing your workshop into zones dedicated to specific tasks or processes, such as a fabrication zone, an assembly zone, and a finishing zone. This will help you optimize your workflow and make the most of your available space.
Within each zone, implement modular workstations that can be easily rearranged or relocated as needed. Consider investing in portable workstations, flexible storage solutions, and collapsible workbenches that can be easily stowed away when not in use. Adaptable tool racks and adjustable shelving units will also help you stay organized and efficient.
By creating a flexible workspace, you'll be able to adapt to changing project requirements and priorities with ease. You'll also be able to accommodate different team members or volunteers with varying skill levels and work styles.
With a flexible workspace configuration, you'll be able to work smarter, not harder, and make the most of your time and resources.
Tool Organization Systems
Divide your modular workstation into task-specific stations, each equipped with the necessary tools and supplies, to create a seamless workflow and maximize efficiency. This will enable you to quickly access the tools you need, reducing downtime and increasing productivity.
To take your tool organization to the next level, consider the following systems:
| Tool Organization System | Description |
|---|---|
| Tool Chest Organization | Customize your tool chest with dividers and trays to keep tools organized and easily accessible |
| Wall Mounted Tool Racks | Maximize vertical space and keep frequently used tools within easy reach |
| Drawer Dividers | Separate tools and supplies within drawers, making it easy to find what you need |
| Magnetic Tool Holders | Store small tools and accessories on metal surfaces, keeping them organized and visible |
Install a Pegboard Organization System
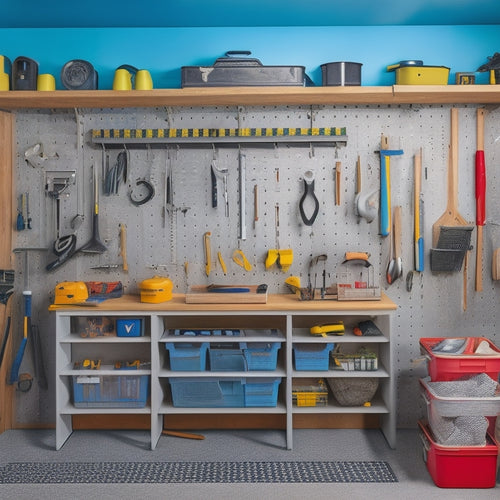
How can a few strategically placed pegs and hooks transform your workshop into a haven of organization and efficiency? By installing a pegboard organization system, you'll be amazed at the difference it can make. This space-saving solution allows you to hang your tools within easy reach, freeing up valuable floor and bench space.
Start by selecting a pegboard that fits your workshop's unique needs. Consider the size, material, and type of pegs and hooks you'll need. You can choose from a variety of tool rack options, from simple hooks to specialized holders for specific tools.
Organization tips: group similar tools together, and label each peg or hook so you can quickly identify what's hanging there.
With a pegboard organization system, you'll boost your workspace efficiency and enjoy a clutter-free environment. Tool display ideas abound – hang your most frequently used tools at eye level, and reserve higher or lower pegs for less frequently used items. By optimizing your pegboard layout, you'll save time searching for tools and focus on the task at hand.
Get ready to transform your workshop into a model of productivity and efficiency!
Maximize Your Ceiling's Storage Potential
Now it's time to think vertically!
You're likely wasting valuable storage space by not utilizing your ceiling.
Overhead Storage Racks
Take advantage of your workshop's often-wasted vertical space by installing overhead storage racks that can hold everything from bulky equipment to infrequently used tools. This space utilization hack will transform your workshop organization, freeing up floor space for more important tasks.
Imagine having easy access to your gear without cluttering your workstations or walkways.
Overhead storage racks are a clever storage solution, providing a secure and out-of-the-way spot for items you don't use daily. You can store bins, boxes, or even entire machinery components, keeping them dust-free and organized.
Consider installing adjustable racks to accommodate items of varying sizes. This flexibility secures your overhead storage racks remain functional as your workshop needs evolve.
When selecting your overhead storage racks, prioritize durability and weight capacity. Look for sturdy materials, such as heavy-duty steel, and consider the maximum weight each rack can hold.
Ceiling-Mounted Cabinets
By strategically placing ceiling-mounted cabinets, you can further capitalize on your workshop's vertical space, safely storing valuable equipment, supplies, and materials in a readily accessible yet out-of-the-way location. This efficient space utilization technique allows you to reclaim floor space, reducing clutter and increasing productivity.
With custom shelving solutions, you can design cabinets that cater to your specific needs, making sure that every item has a designated spot.
When choosing ceiling-mounted cabinets, search for adjustable storage options that can be customized to accommodate items of varying sizes. This flexibility will allow you to adjust your storage system as your workshop's needs evolve.
If you're comfortable with DIY projects, consider using DIY installation techniques to save on labor costs. However, if you're not confident in your abilities, it's recommended to hire a professional to guarantee a secure and stable installation.
Hanging Tool Organizers
You can instantly free up valuable wall and floor space by installing hanging tool organizers, which cleverly utilize your ceiling's storage potential to keep frequently used tools and accessories within easy reach.
By suspending tool organizers from the ceiling, you'll create a clutter-free workshop that's both efficient and safe.
Hanging tool cabinets, for instance, can store bulky items like power tools, while wall-mounted tool racks can hold smaller accessories like wrenches and pliers.
To maximize your ceiling's storage potential, consider mobile tool organizers that can be easily moved around the workshop as needed.
Magnetic tool holders are another great option, allowing you to store small metal tools like screwdrivers and hammers within easy reach.
By keeping your tools organized and easily accessible, you'll reduce downtime and increase productivity. Plus, a well-organized workshop is a safer workshop, reducing the risk of accidents caused by tripping hazards and misplaced tools.
Create a Compact Tool Zone
Set up a compact tool zone by grouping frequently used tools, such as hammers, screwdrivers, and pliers, within easy reach on a pegboard or in a tool chest. This will save you time and energy when working on projects. Consider installing compact tool racks on your walls or investing in wall-mounted cabinets to maximize storage space. These solutions will keep your tools organized and easily accessible, allowing you to focus on the task at hand.
When designing your compact tool zone, think about the tools you use most often and prioritize their placement. You may want to group similar tools together, such as all your screwdrivers in one spot, or organize them by frequency of use. Make sure to leave enough space between each tool to prevent clutter and visual overload.
A well-organized tool zone will help you stay focused and efficient, enabling you to complete projects quickly and effectively. By creating a compact tool zone, you'll be able to work smarter, not harder, and achieve your goals with ease.
Design a Space-Efficient Workbench
As you design your space-efficient workbench, you'll want to focus on optimizing every inch of surface area. This means choosing tools that can multitask and making the most of vertical storage to keep your workspace organized and clutter-free.
Optimize Work Surface Area
By incorporating multi-level surfaces, incorporating built-in storage, and strategically positioning frequently used tools, a space-efficient workbench can be designed to maximize productivity while minimizing floor space.
You can achieve this by using rolling workbenches with built-in drawers or shelves, allowing you to store frequently used tools and materials within easy reach. Wall-mounted shelves can also be installed above your workbench to store less frequently used items, keeping them out of the way but still accessible.
Consider using underneath storage bins or baskets to store small parts, nuts, and bolts, keeping them organized and preventing clutter from building up on your work surface. Portable workstations can also be used to create additional work surfaces as needed, providing flexibility and versatility in your workshop.
Select Multi-Functional Tools
Select Multi-Functional Tools
Invest in multi-functional tools that can tackle multiple tasks, such as a drill press that doubles as a milling machine, to minimize the number of devices cluttering your workbench and streamline your workflow. This approach allows you to achieve tool versatility while maintaining space efficiency.
By choosing multi-purpose tools with compact designs, you'll have more room to work on your projects without the hassle of switching between multiple machines. Consider a combination sander and grinder, or a bandsaw that can also serve as a jigsaw. These space-saving solutions will help you stay focused on your work, rather than wasting time switching between tools.
With a well-curated selection of multi-functional tools, you'll be able to complete tasks faster and more efficiently, making the most of your workshop's limited space. By doing so, you'll be able to provide better services to your clients and make the most of your time.
Utilize Vertical Storage
You can optimize your workshop's floor plan by designing a space-efficient workbench that incorporates vertical storage, keeping frequently used tools and supplies within easy reach while freeing up valuable floor space. By doing so, you'll create a more organized and efficient workspace that allows you to focus on your projects.
Consider installing vertical shelving solutions, such as pegboards or slatwalls, to store items like bins, baskets, and hooks. This will enable you to maximize your wall space and keep essential items easily accessible.
Additionally, wall-mounted tool racks can provide efficient storage options for your frequently used tools. You can also install a fold-down or swing-out workstation to create a flexible and space-saving surface for tasks that require a dedicated area.
By utilizing vertical storage, you'll be able to reclaim floor space and create a more streamlined workshop layout. This, in turn, will improve your productivity and overall work experience.
Invest in Foldable Work Tables
Foldable work tables can be a game-changer in your workshop, allowing you to reclaim precious floor space when not in use. When you need a dedicated workspace, these tables provide a sturdy surface for projects. But when you're finished, they fold up and can be easily stored away, making them perfect for small workshops or shared spaces.
Here are some benefits of incorporating foldable work tables into your workshop layout:
| Space-Saving Solution | Portability | Flexibility |
|---|---|---|
| Reclaim floor space when not in use | Easy to move around the workshop | Can be used as a portable workstation or compact tool cart |
| Ideal for small workshops or shared spaces | Lightweight and easy to transport | Can be set up in various configurations to suit your needs |
| Can be stored in a compact, collapsible format | Perfect for workshops with limited space | Allows for efficient use of space and resources |
Use Mobile Storage Containers
Mobile storage containers become your workshop's unsung heroes, providing a flexible and organized way to store tools, supplies, and materials while keeping them within easy reach. With these containers, you can create portable workstations that can be easily moved to different areas of your workshop, allowing you to work efficiently and effectively.
By storing your tools and supplies in organized toolkits, you'll save time searching for what you need and reduce clutter. Mobile storage carts are also a great way to optimize your workshop's layout. By placing frequently used tools and materials on these carts, you can create efficient tool placement that streamlines your workflow.
This allows you to quickly access what you need, reducing downtime and increasing productivity. Additionally, these carts can be easily moved to different areas of your workshop, making it easy to reconfigure your layout as needed. By incorporating mobile storage containers into your workshop layout, you'll be able to work smarter, not harder, and achieve more in less time.
Incorporate a Ceiling-Mounted Shelf
By maximizing your workshop's vertical space with a ceiling-mounted shelf, you can create additional storage for infrequently used tools and supplies, keeping them out of the way but still easily accessible when needed. This is especially useful for items like seasonal decorations, extra lumber, or special occasion tools that you don't use frequently.
Consider adding hanging planters or decorative lighting to create a visually appealing display that also serves a functional purpose.
Use the ceiling-mounted shelf to store DIY decor items, such as paint, stencils, or other craft supplies, keeping them organized and out of the way.
Install floating shelves below the ceiling-mounted shelf to create a multi-tiered storage system that makes the most of your workshop's vertical space.
Don't forget to label each shelf and bin so you can easily find what you need when you need it, saving you time and frustration in the long run.
Frequently Asked Questions
How Do I Protect My Workshop From Dust and Debris Accumulation?
'You're probably tired of breathing in dust bunnies and slipping on sawdust snowflakes. Protect your workshop by installing a dust collection system and proper ventilation, then seal the deal with easy-clean floor protection and regular sweeping – a refreshing change awaits!'
What Safety Features Should I Prioritize in My Workshop Design?
When designing your workshop, you'll prioritize safety features like proper ventilation, fire extinguishers, and emergency exits. Follow safety guidelines and incorporate ergonomic design to guarantee a comfortable, injury-free workspace that lets you focus on serving others.
Can I Repurpose Old Furniture for Workshop Storage and Organization?
You can breathe new life into old furniture, turning it into creative solutions for workshop storage and organization. Repurpose an old dresser into a tool chest or use a vintage ladder as a shelving unit – get creative and make it work!
How Do I Ensure Adequate Lighting in a Cramped Workshop Space?
"Grab thy lantern, good craftsman! In thy cramped workshop, thou needest task lighting to illuminate specific areas, and overhead fixtures to provide general brightness, ensuring thou canst see every detail of thy handiwork."
Are There Any Space-Saving Solutions for Large, Bulky Tools?
You'll be amazed at how much floor space you'll free up by implementing tool organization systems and utilizing vertical storage for those large, bulky tools, keeping them easily accessible while maximizing your workshop's real estate.
Related Posts
-

3 Pro Garage Organization Ideas to Try Now
You can alter your garage from cluttered chaos to organized oasis with three pro garage organization ideas. First, op...
-

Advantages of a Pegboard System in Your Garage
You can instantly alter your garage into a more organized, efficient, and productive space by installing a pegboard s...
-

Best Materials for Garage Wall-Mounted Cabinets
When selecting materials for your garage wall-mounted cabinets, you'll want to evaluate options that balance durabili...


