10 Best Pegboard Organization Ideas for Beginners
Share
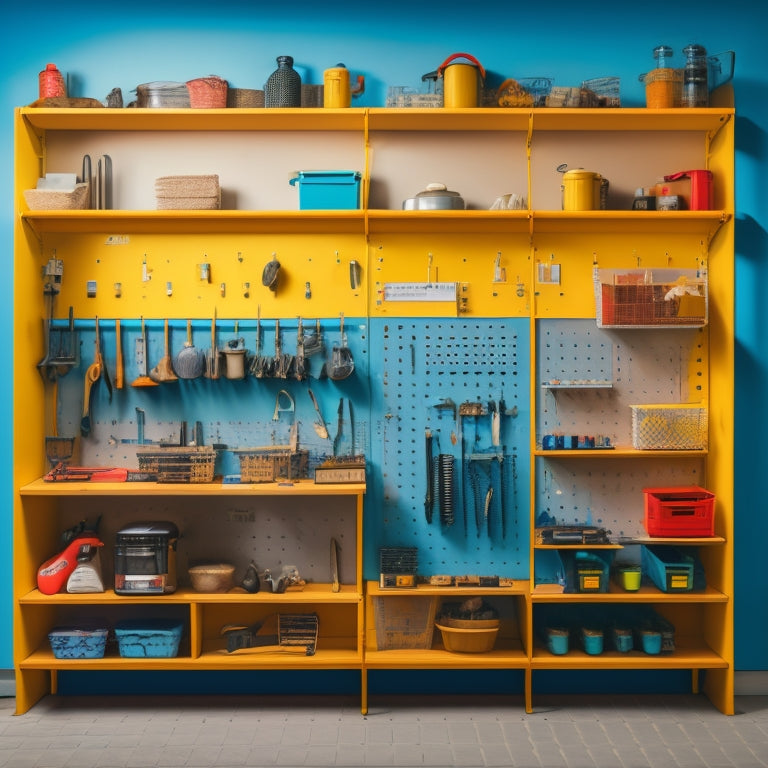
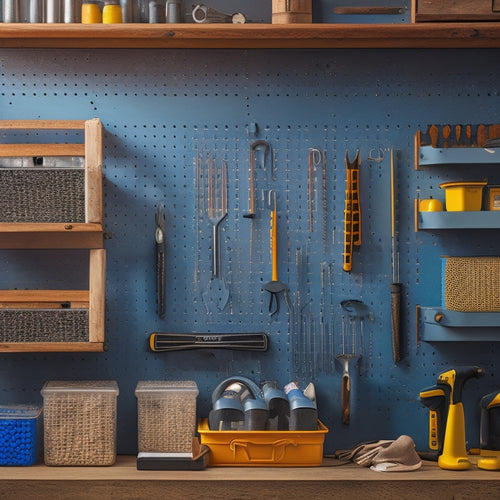
You're about to optimize your workspace with these 10 essential pegboard organization ideas. First, plan your setup, considering tool frequency, size, and weight. Hang frequently used tools in accessible locations, grouping similar tools together and labeling sections for easy identification. Next, maximize vertical storage space with hooks, bins, and accessories, and customize storage with bins and baskets. Utilize corners and edges with hooks, bins, and shelves. Incorporate small item trays and create zones for efficiency. Hang power tools safely, and consider adding a pegboard desk organizer. Now, get ready to take your pegboard organization to the next level with even more clever ideas and strategies.
Key Takeaways
• Begin by planning your pegboard setup, considering tool frequency, size, and weight to maximize accessibility and efficiency.
• Utilize vertical storage space with hooks, bins, and accessories, and organize tools into categories with clear labels for easy identification.
• Assign tasks or categories to bins and baskets, ensuring everything has a designated home, and label each for easy identification.
• Hang heavy-duty items securely with strong hold hooks, choosing hooks with high weight capacity, and explore innovative hook designs for storage optimization.
• Create zones on your pegboard by dividing it into distinct areas, grouping similar tools together, and considering color-coding and logical arrangement.
Essential Tools to Hang First
As you start organizing your pegboard, remember that a well-planned setup is key to maximizing your productivity. Start by hanging the most frequently used tools, such as hammers, screwdrivers, and pliers, in easy-to-reach locations to maximize your pegboard's efficiency. This will save you time and energy in the long run. When selecting tools to hang, consider the frequency of use, size, and weight of each item.
Beginners often make the mistake of overcrowding their pegboard, leading to clutter and disorganization. To avoid this, group similar tools together, such as all screwdrivers in one section or all wrenches in another. This will make it easier to find what you need when you need it.
Another common mistake isn't labeling your pegboard. Take the time to label each section or tool, so you can quickly identify what's where. By following these tool selection and organization tips, you'll be well on your way to creating a functional and efficient pegboard that serves you well.
Maximizing Vertical Storage Space
When maximizing vertical storage space, you'll want to start by optimizing your wall space usage. This means carefully planning the layout of your pegboard to guarantee you're making the most of every inch.
Next, you'll focus on utilizing corner areas efficiently, which can often be the most challenging spaces to organize effectively.
Optimize Wall Space Usage
You can maximize your pegboard's storage capacity by installing hooks, bins, and accessories that make the most of your wall space, keeping frequently used items within easy reach. To optimize wall space usage, start by organizing your tools and supplies into categories, such as hand tools, power tools, and fasteners. Use color coding to label each category, making it easy to identify where each item belongs.
Next, install shelf inserts or magnetic strips to store small items like nuts and bolts, screws, or beads. These inserts and strips will keep your pegboard clutter-free and make it easy to find what you need.
Consider creative displays, such as a pegboard with a built-in whiteboard or a chalkboard, to keep track of your projects or leave notes for others. By utilizing your wall space efficiently, you'll have more room to work on your projects and reduce clutter in your workshop or garage.
Utilize Corner Areas Efficiently
Make the most of your pegboard's corner areas by installing specialized storage solutions that capitalize on the often-wasted vertical space, allowing you to stash items like long-handled tools, hoses, or cords out of the way but still within easy reach.
To do this, consider adding corner shelving, which can hold bins, baskets, or containers for storing small items. You can also install decorative hooks to hang items like extension cords, air hoses, or even bikes. This will keep them organized, prevent tangles, and free up floor space.
Another creative idea is to use corner shelves to display hanging plants. Not only will this add a touch of greenery to your workspace, but it'll also make the most of the vertical space. You can choose plants with a compact growth habit or trailing varieties that'll cascade down the shelves.
Customizing With Bins and Baskets
Customize your pegboard by assigning specific tasks or categories to individual bins and baskets, ensuring everything has a designated home. This DIY organization tip will help you maximize your pegboard's potential and keep your workspace organized.
Start by identifying the types of items you want to store, such as small tools, fasteners, or accessories. Then, choose bins and baskets that fit your needs and attach them to your pegboard using pegs or hooks.
Next, label each bin and basket so you can easily find what you need. Consider using clear bins or baskets to make it easy to see what's inside. You can also customize your bins and baskets by adding dividers or compartments to further categorize your items.
Hooks for Heavy-Duty Items
Now that you've customized your pegboard with bins and baskets, it's time to focus on hooks for heavy-duty items. You'll need strong hold hooks that can support the weight of your larger tools and equipment, ensuring they're securely stored and easily accessible.
Next, you'll want to evaluate large tool storage solutions that can accommodate bulky items, keeping them organized and out of the way.
Strong Hold Hooks
You'll need strong hold hooks to securely hang heavy-duty items like power tools, bulk storage bins, or large equipment on your pegboard. These hooks are designed to bear heavy loads, ensuring your valuable items are safely stored and easily accessible.
To maximize your pegboard's potential, consider color coding your hooks to categorize similar items or distinguish between frequently and infrequently used tools.
When selecting strong hold hooks, look for ones with a sturdy build and a weight capacity that exceeds the weight of your heaviest items. You may also want to explore creative hanging solutions, such as hooks with adjustable arms or rotating hooks that allow for flexible storage configurations. These innovative designs can help optimize your pegboard's space and make it easier to retrieve your tools.
Large Tool Storage
Hang your largest and heaviest tools, such as circular saws or drills, on sturdy hooks specifically designed to support their weight, keeping them within easy reach and freeing up valuable floor space. These hooks are a must-have for your pegboard organization, as they'll help you maximize your storage capacity.
When choosing hooks for heavy-duty items, consider the weight capacity and material of the hook. Look for hooks made from heavy-duty steel or aluminum that can support a minimum of 20-30 pounds.
Next, decide where you want to install the hooks. You can opt for pegboard wall mount options, which provide easy access to your tools, or choose pegboard cabinet storage for a more concealed storage solution. If you have limited wall space, consider pegboard shelving solutions or pegboard drawer organization to store your heavy tools.
Utilizing Corners and Edges
Maximize your pegboard's storage capacity by installing hooks, bins, or shelves specifically designed to fit snugly into corners and along edges, thereby creating a seamless and efficient use of space. This will help you make the most of your pegboard's often-underutilized corners and edges.
Start by identifying the items you need to store in these areas. Consider using corner shelves to hold small bins, baskets, or containers filled with nuts, bolts, or other small parts. Alternatively, install pegboard hooks in corners to hang items like cords, hoses, or accessories.
For edge organization, look for bins or shelves specifically designed to fit along the edges of your pegboard. These can be used to store longer items like pipes, tubes, or molding. You can also use corner solutions like right-angle bins or shelves to create a smooth shift between the corner and edge of your pegboard.
Labeling for Easy Access
By assigning clear labels to each peg, bin, and shelf, you're creating a visual map of your pegboard's contents, allowing you to quickly locate the tools and supplies you need. This step is essential in maintaining a well-organized pegboard, as it saves you time and reduces frustration.
To label effectively, start by categorizing your items into groups, such as hand tools, power tools, and fasteners. Then, assign a specific color to each category using color coding. For instance, you can use red labels for hand tools and blue labels for power tools. This visual cue will help you identify the type of item at a glance.
Next, arrange the labels in alphabetical order within each category. This will enable you to find a specific tool or supply quickly, making it a valuable quick reference. Be sure to use a clear and easy-to-read font, and consider using a label maker to make sure consistency and professionalism.
Incorporating Small Item Trays
Now that you've got your pegboard labeled, it's time to ponder incorporating small item trays to elevate your organization.
You'll want to start by identifying the tiny tools and small parts that tend to get lost or clutter up your workspace, and then decide how you'll use trays to keep them organized and within reach.
As you start selecting and arranging your trays, you'll need to ponder how to maximize the space within each one to guarantee everything fits neatly and efficiently.
Trays for Tiny Tools
Use small item trays to corral tiny tools, such as drill bits, screws, and beads, and place them within easy reach on your pegboard. This will keep your workspace organized and prevent you from wasting time searching for misplaced items.
Start by attaching magnetic strips to the back of the trays and sticking them to your pegboard. This will allow you to easily move the trays around as needed. Next, add dividers within the trays to separate similar items. This will help you quickly identify what you need and prevent items from getting jumbled together.
Consider adding sliding drawers or shelf inserts to your pegboard to provide additional storage for your small item trays. This will keep your most frequently used tools within easy reach while keeping less frequently used items stored away.
Organizing Small Parts
Organizing Small Parts
You'll discover the importance of categorizing small parts into groups, such as fasteners, fittings, and hardware, before placing them into your small item trays on the pegboard. This step guarantees that similar items are stored together, making it easier to find what you need when you need it.
Once you've grouped your small parts, assign a specific tray to each category. For instance, dedicate one tray to screws, another to nuts and bolts, and so on.
To maximize the storage capacity of your trays, use drawer dividers to separate individual items within each category. This prevents small parts from getting jumbled together and makes it easier to grab the specific item you need.
Additionally, consider using magnetic strips to store small metal parts, such as screws or nails, keeping them organized and within reach. By categorizing and assigning specific trays to each group of small parts, you'll be able to quickly locate the items you need, saving you time and frustration in the long run.
Maximizing Tray Space
To optimize the storage capacity of your pegboard, incorporate small item trays with adjustable compartments to accommodate varying sizes of small parts, ensuring each item has a dedicated space. This will help you make the most of your tray organization and achieve space optimization.
Here are some tips to maximize your tray space:
-
Group similar items together: Store similar small parts, such as screws or nuts, in the same tray to reduce clutter and make them easier to find.
-
Label each compartment: Use labels or signs to identify what's stored in each compartment, saving you time and effort when searching for a specific item.
-
Arrange trays by frequency of use: Place trays with frequently used items in easy-to-reach locations, and less frequently used items towards the back or bottom of your pegboard.
- Consider a tiered tray arrangement: Use stackable trays or a multi-tiered tray system to maximize vertical space and make the most of your pegboard's storage capacity.
Creating Zones for Efficiency
Creating Zones for Efficiency
Divide your pegboard into distinct zones, each dedicated to a specific task or type of tool, to maximize efficiency and streamline your workflow. This will help you quickly locate the tools you need and reduce clutter.
Start by grouping similar tools together, such as all your hand tools in one zone and power tools in another. Consider color coding your zones using labels or bins to create a visual distinction. For instance, you can use red bins for tools related to woodworking and blue bins for those related to metalworking. This visual organization system will help you quickly identify the zone you need to access.
Next, arrange your tools within each zone in a logical order. For example, place the most frequently used tools in the front and center of the zone, with less frequently used tools towards the back.
Finally, make sure to leave some empty space between zones to avoid overcrowding and create a clean, organized workspace setup that promotes efficiency.
Hanging Power Tools Safely
About 75% of power tools can be securely hung from your pegboard using sturdy hooks and bins, but it's important to follow specific guidelines to prevent damage or accidents.
When hanging power tools, you'll want to prioritize power tool safety to make sure you're not putting yourself or others at risk.
Here are some essential tips to keep in mind:
-
Weight capacity: Confirm that the hooks and bins you're using can support the weight of your tools. Check the manufacturer's recommendations for weight limits to avoid overloading.
-
Tool size and shape: Select pegboard accessories that fit your tools snugly. Large tools may require specialized storage solutions, such as baskets or bins with dividers.
-
Cord management: Maintain cords organized and untangled by using cord organizers or zip ties to prevent tripping hazards.
- Accessibility: Hang tools at a comfortable height to avoid straining or stretching, and group similar tools together for easy access.
Adding a Pegboard Desk Organizer
By incorporating a pegboard desk organizer into your workspace, you're creating a centralized hub for frequently used supplies and accessories, keeping them within easy reach to boost productivity and efficiency. This is especially useful for professionals who require quick access to various tools and materials.
Here are some benefits of adding a pegboard desk organizer to your workspace:
| Benefits | Description |
|---|---|
| Easy Access | Keep frequently used items within easy reach, saving time and effort. |
| Decluttered Workspace | Organize your workspace, reducing clutter and promoting a sense of calm. |
| Customization | Design your pegboard to fit your specific needs, accommodating unique tools and accessories. |
When designing your pegboard desk organizer, consider the following tips:
- Measure your workspace to determine the ideal size for your pegboard.
- Choose a pegboard material that fits your style, such as wood or metal.
- Plan your layout, grouping similar items together for easy access.
Frequently Asked Questions
Can I Use a Pegboard in a Humid or Outdoor Environment?
You can use a pegboard outdoors or in humid areas if you choose a durable material, like stainless steel or rust-resistant coated pegboards, and apply humidity protection by sealing it with waterproof coatings or varnishes.
How Do I Prevent My Pegboard From Looking Cluttered?
"Think of your pegboard as a canvas - a cluttered one can be overwhelming! You prevent clutter by implementing color coordination and labeling, then strategically spacing items and utilizing vertical storage to create a harmonious, easy-to-navigate space."
Are Pegboards Suitable for Renters or Temporary Spaces?
If you're a renter, don't worry! You can still enjoy a pegboard without damaging the walls. Opt for removable adhesive strips or 3M command hooks for easy pegboard installation in temporary spaces.
Can I Mount a Pegboard on a Curved or Uneven Surface?
As you navigate the twists and turns of your unique space, you'll find that mounting a pegboard on a curved or uneven surface requires creative problem-solving. You'll need to customize your space with flexible fasteners or adjustable brackets to securely hang your tools.
How Do I Secure Small Parts or Accessories on My Pegboard?
You'll want to secure small parts and accessories on your pegboard using magnetic solutions, hanging baskets, or sliding hooks. For added flexibility, consider installing adjustable shelves to customize your storage and keep everything within easy reach.
Related Posts
-

What to Look for in a Pegboard Tool Storage Kit
When shopping for a pegboard tool storage kit, you need a system that combines customized organization, sturdy durabi...
-

Maximum Capacity Tool Boxes for Heavy-Duty Use
You need a maximum capacity tool box that can withstand the rigors of heavy-duty use, protecting your essential tools...
-

Tool Storage Chests for a More Organized Workspace
You're looking to enhance productivity and reduce stress in your workspace by getting your tools organized, and that'...


