
Last week we began our Willowcrest journey by starting on the first/second floor stairwell. I wanted to make that area more viewer friendly by adding a much larger window using the kit's French Door Window as the model. But how could I replicate the fancy, multi-layer and double arched frames and trim? I'm not a woodworker, but I do have lots of technology at my fingertips, so I decided to see what I could do with it.
 |
| 3D Printed Staircase Interior Window Frame |
After some tinkering, I found that I could scan the frames into my PC, open them in Inkscape, separate the layers then save the best one as an svg file. I imported the svg file into Tinkercad, made adjustments, if necessary, added details and then prepared them for 3D printing. It's a pretty complicated process at first, but once I did a little troubleshooting, I ended up with some amazing replacement kit pieces!
 |
| Scanned French Door frames into my PC |
 |
| Imported into Inkscape and converted into an svg |
 |
| Imported into Tinkercad. There were mysterious "holes" that needed patching up. |
Not only can I combine each of the layers into one frame, to further enhance the kit's components, I can add architectural details created by myself or by others on Thingiverse, Has your mind just exploded like mine did? Oh the possibilities!
The kit has you stack four layers of die cut plywood to achieve the look of fancy molding. Here's what the kit's French Door Window looks like assembled. It's super charming but the plywood needs so much TLC...
 |
| French Door Window exterior frame layers. |
And here is the Small Window's wooden parts, exterior and interior.
 |
| Small Window exterior frame layers. |
 |
| Small Window interior frame. |
Not every piece of plywood in the kit was in great shape. You see, while all the sheets looked to be in good shape at first glance, upon further inspection, while popping out pieces, a couple sheets weren't so good at all. It was as though the top and bottom layers of plywood were nearly petrified and so hard to cut through, even with a sharp Xacto blade. By extreme contrast, the center layers of plywood had disintegrated, leaving a crumbled chasm. This made the pieces very unstable, so tricky to safely remove from the sheets and some had weirdly expanded in thickness. I probably could have restored them with a lot of wood glue, filler, sanding and copious patience, but 3D printing them seems like much more fun. Not only is this method an exciting way to replicate the kit's windows and other trim elements to improve them, it's a way to replace them altogether, when necessary.
 |
| French door frame from sheet 4. |
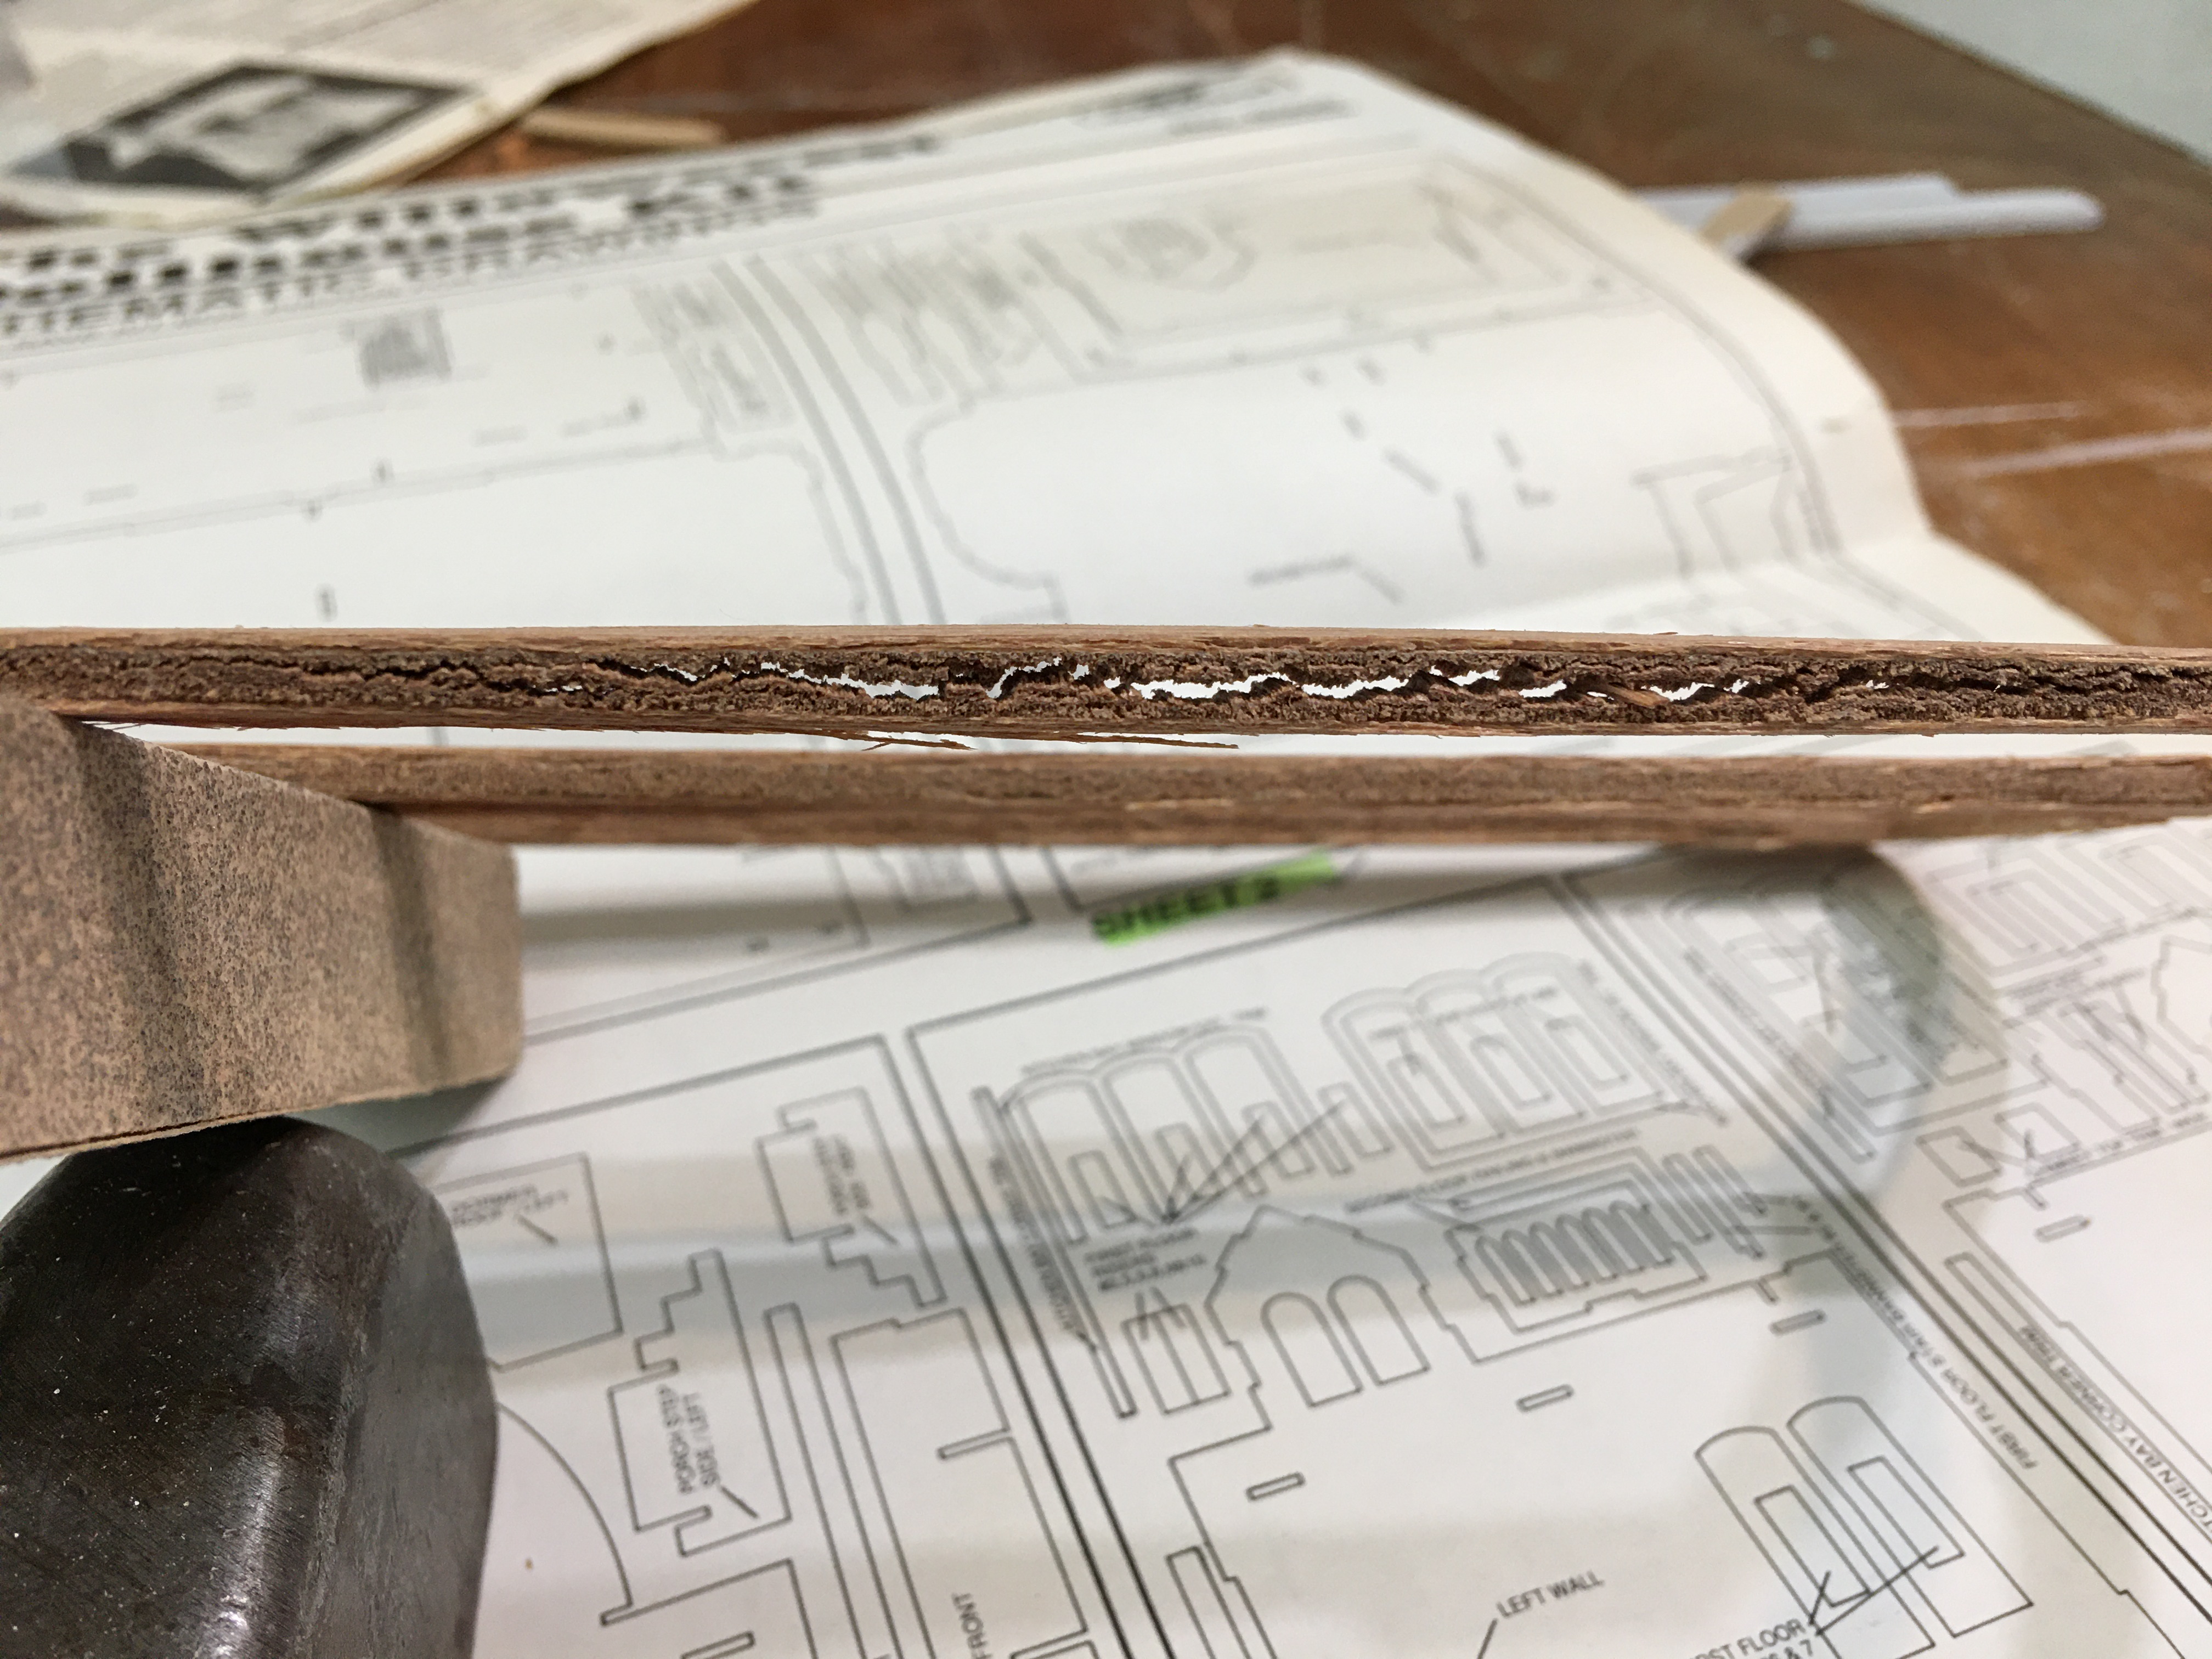 |
| French door frame from sheet 7 |
Here, each layer of the Small Window's exterior frame has been scanned, saved as an svg and imported into Tinkercad.
 |
| The kit has you stack four layers to achieve the look of fancy molding. |

A close up view of the 3D rendering which shows the corbel detail better.

For the Stairwell's exterior window, I added a shelf to the bottom shaped to mimic the window's curves. It's supported with detailed corbels. The same top corbel will be used wherever possible to unify the exterior style.

 |
| Shelf Detail |
 |
| The French Door Window to the left of the front door. |

But aren't I getting WAY ahead of myself with all these windows? Yes, but recreating them is so much fun! My goal was to get the entryway/stairwell completed first. The exterior window frames won't be needed until much, much later. All I need right now are the interior stairwell window frame and a small interior window frame for the second floor landing. I went a little crazy with the details on the stairwell frame as you can see. The entry/stairwell is the first room guests see, so traditionally in homes of that era, they were meant to make an impression.
 |
| Stairwell window frame. |
 |
| Side detail. |
The interior frames for the rest of the house will likely be a lot more subdued.
 |
| Small Window Interior Frame |
 |
| Side detail. |
Here I must digress a little...
Some of you may remember that last fall I worked on a commission to design and print 3D windows and doors for a Breakfast At Tiffany's themed dollhouse. For the 9" door surround, I had to print it in five pieces because of the 5.5" size limitation of my 3D printer's print bed.
 |
| Rendering pieces, left. Printed and assembled door, center. Original BAT door, right. |
My supportive husband, believing in my ability to create great things if I have the right tools, conspired with my kids to join forces and buy me a much larger 3D printer for my birthday last December. Now, I am able to print things over twice that large, making it possible for me to print the 7.91" interior stairwell window frame in one piece. Have I ever mentioned how wonderful Russ and my kids are to me? 💗 Using the scan/svg/3D printing method, I can replicate almost any piece I need to, as long as I can fit it onto the X-Max's 300 x 250 x 300 mm (11.81" x 9.84"x11.81") bed. I can even have another small job going at the same time because I still have my trusty old X-one2!
 |
| Welcome to the family, X-Max! |
Back to windows... Now it was time for the real test. How would the frames look printed? I started with the staircase wall's interior frame. This was pretty complicated, so I figured if this one was successful, I was home free. I think it came out amazingly good, and surprisingly, even with the more capable printer, it took over nine hours to print. I am sure there are settings I can adjust to speed things up, but I still have A LOT to learn! I am trying to eat this elephant one bite at a time.


It looks perfect against the pattern I traced on the wall, so I guess it's safe to cut the hole. Scroll saw here we come! But first...

In my excitement about the windows, I'd nearly forgotten that I also needed to have the front door ready. The kit's door is a double opening model which seems to be a common feature for second empire homes. I thought that re-designing mine to look like a double door but actually opening as one solid door was a better idea - less hinge engineering and less operating parts that could break. Here's the rendering of what the door and frame looks like together.

 |
| Kit's Double Door |

 |
| Recess for "glass" |
And here are the interior/exterior doors printed. I am super happy with how they came out! Each side took over 10 hours.

Test Fit...
 |
| From the front porch |
 |
| From the kitchen doorway. I left 1/32" allowance on each side for paint and swing space. |
 |
| From the stairs |
And the interior Small Window frame straight off the printer. Simple but elegant, I think.

I did the entry arches for the kitchen and living room, too, but haven't printed them yet. First I have to decide on the flooring. The height of the arches will have to be adjusted accordingly for it. And I think it might be time to actually glue the foundation, front wall and center walls in place. Scary and exciting!

My recreation system is not quite as sophisticated as The Replicator in the Star Trek series, but it works well enough for me! And it goes to show that with a little technology and a will to try, any challenge can become an opportunity for even better minis!