
See how we took our small entryway from empty and boring to stunning using only items from The Home Depot. This post is sponsored by The Home Depot.
Friends, I cannot even begin to tell you how excited, honored, and just plain pumped I am to be here today to share the reveal of our entryway makeover with The Home Depot!
You may have already heard the news, but if you haven’t, I am going to be working closely with The Home Depot all year long to tell you all about their incredible line of home decor, furniture, and linens for your home, found at homedepot.com/decor. Since it’s only available online, you may not realize that The Home Depot is an excellent resource for a lot more than just tools and lumber – they also have some of my favorite wallpaper, furniture, decor, and more on their website!
So today, I’m going to show you how I completely transformed my entry using only items from homedepot.com/decor!
I’m so (so!) in love with how it turned out – it makes me smile every time we walk in the door – which was exactly the goal!
Let’s kick things off with a before and after. Here’s what we started with:
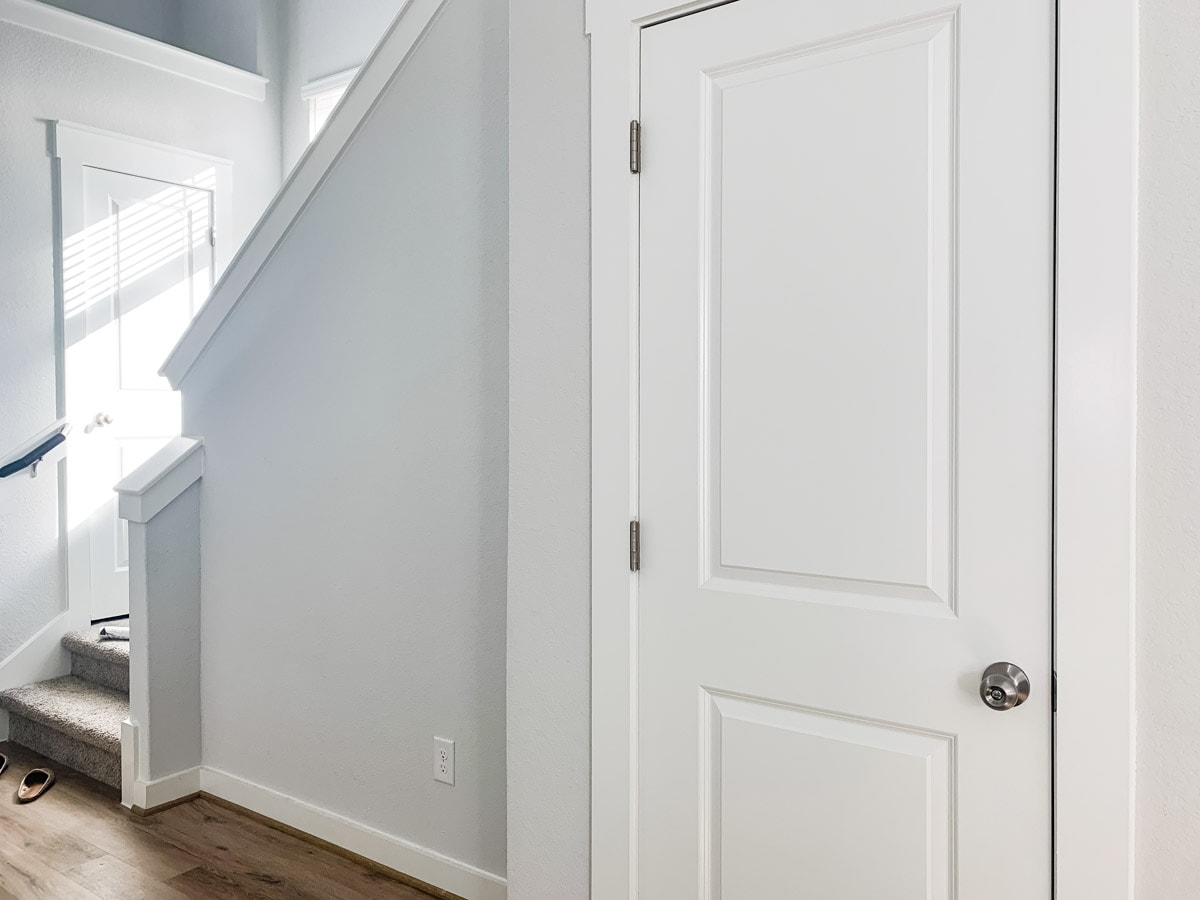
I love that we have this little nook at our staircase – it’s the perfect size to add an entry table or bench without intruding into the room, and it’s the first time we’ve ever had an actual official entry space in any of our homes.
When we moved in, I plopped a little bench in the nook and called it a day. I thought we might keep it there, but it turned out that no one actually used it for sitting. If we sit down to put our shoes on, we always gravitated to the stair landing instead and (as I’m sure you can guess) the bench quickly became a landing spot for backpacks and coats and toys…and it was basically a mountain of stuff that greeted you when you walked in the door.
It wasn’t cute.
The other problem we ended up with was that we didn’t have anywhere to drop our keys or sunglasses when we walked in the door (so they were often misplaced) and the entire space was just kind of sad and empty.
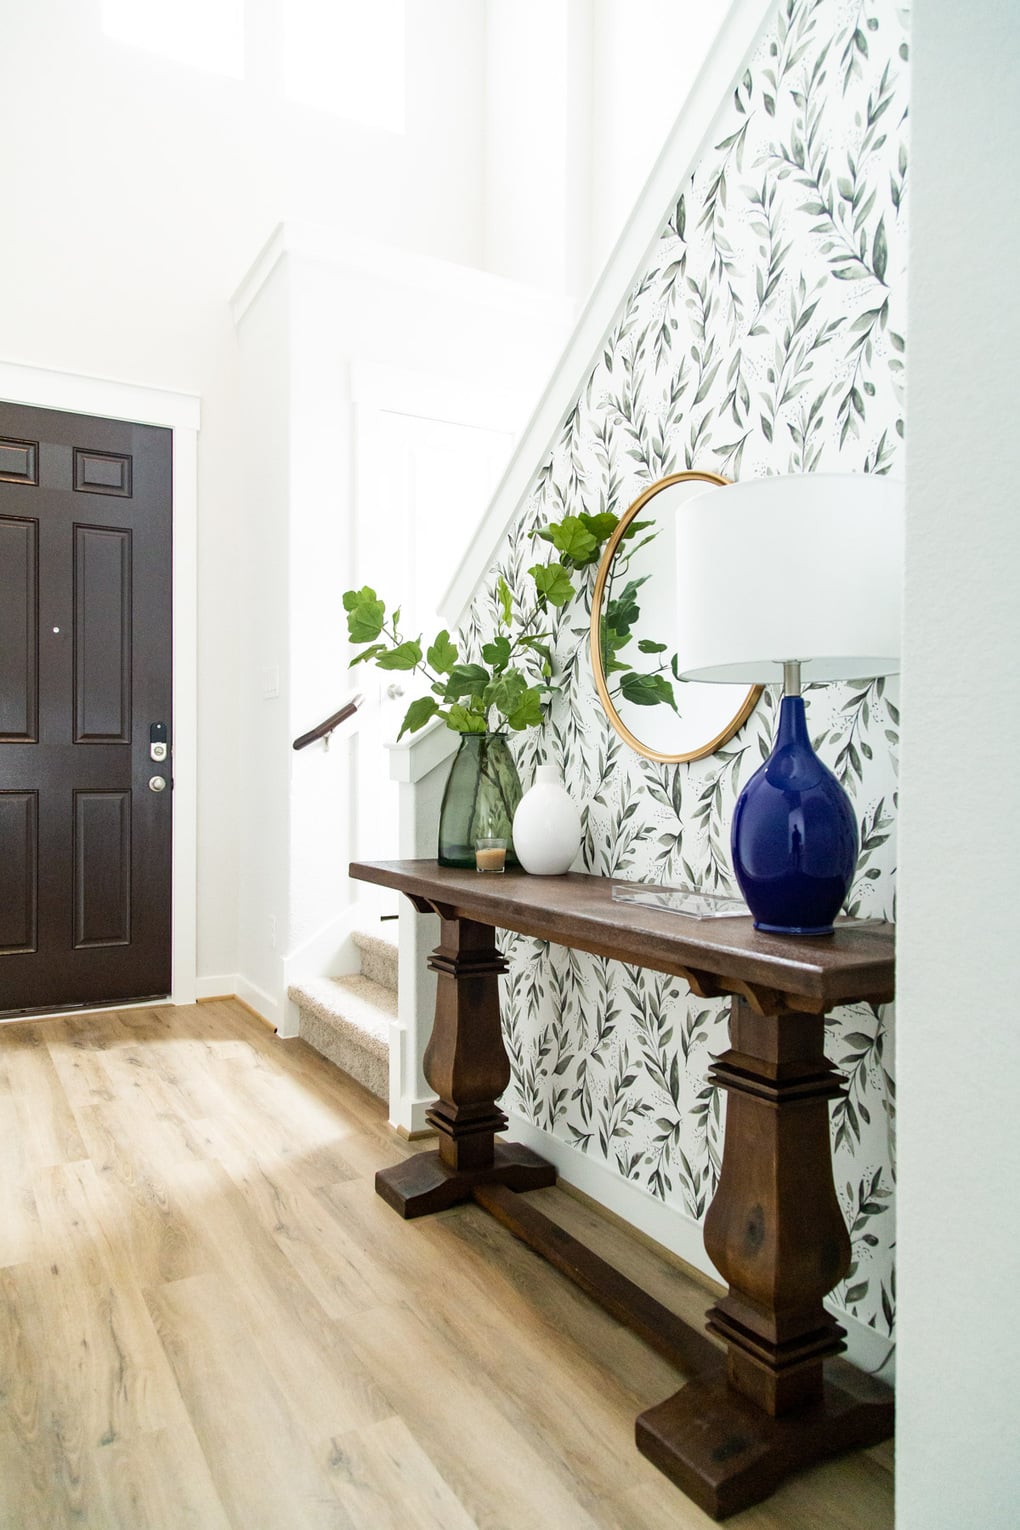
So, we got to work and with the help of some amazing pieces from The Home Depot, here’s what it’s looking like now:
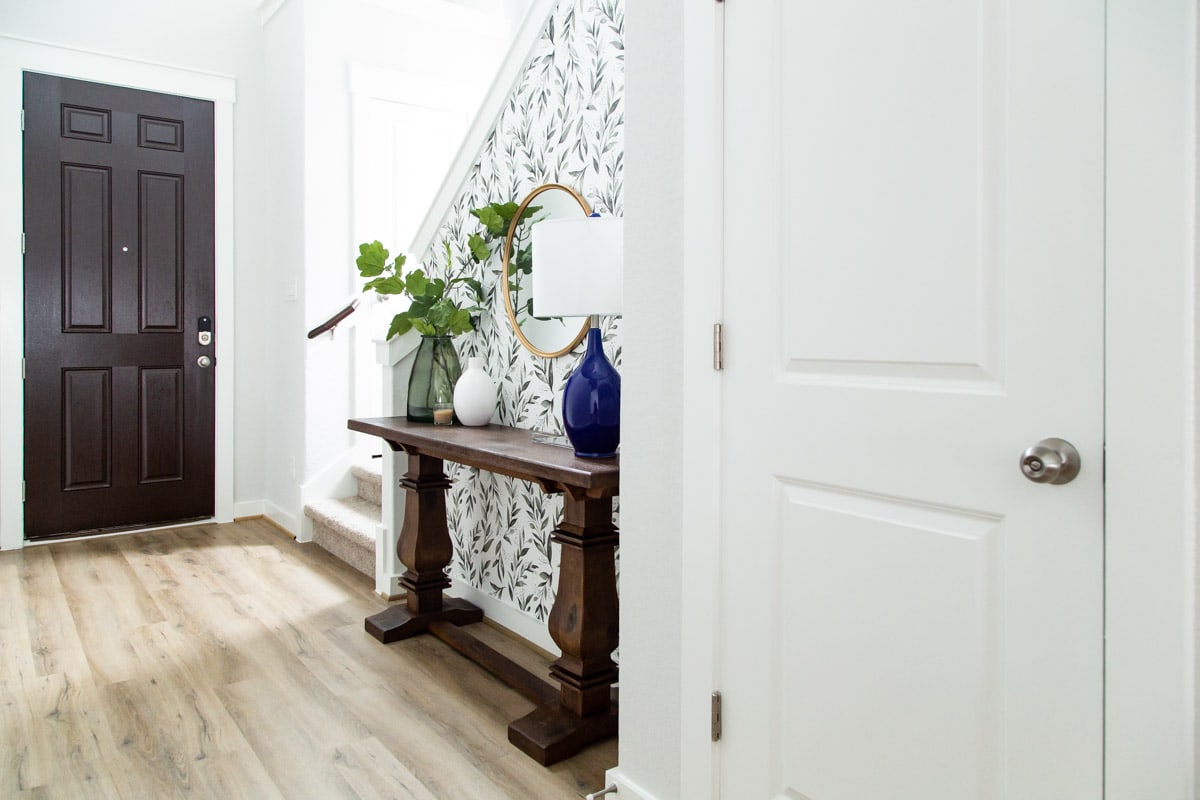
Did your jaw drop? Are you drooling a little?
It’s fine, I am too.
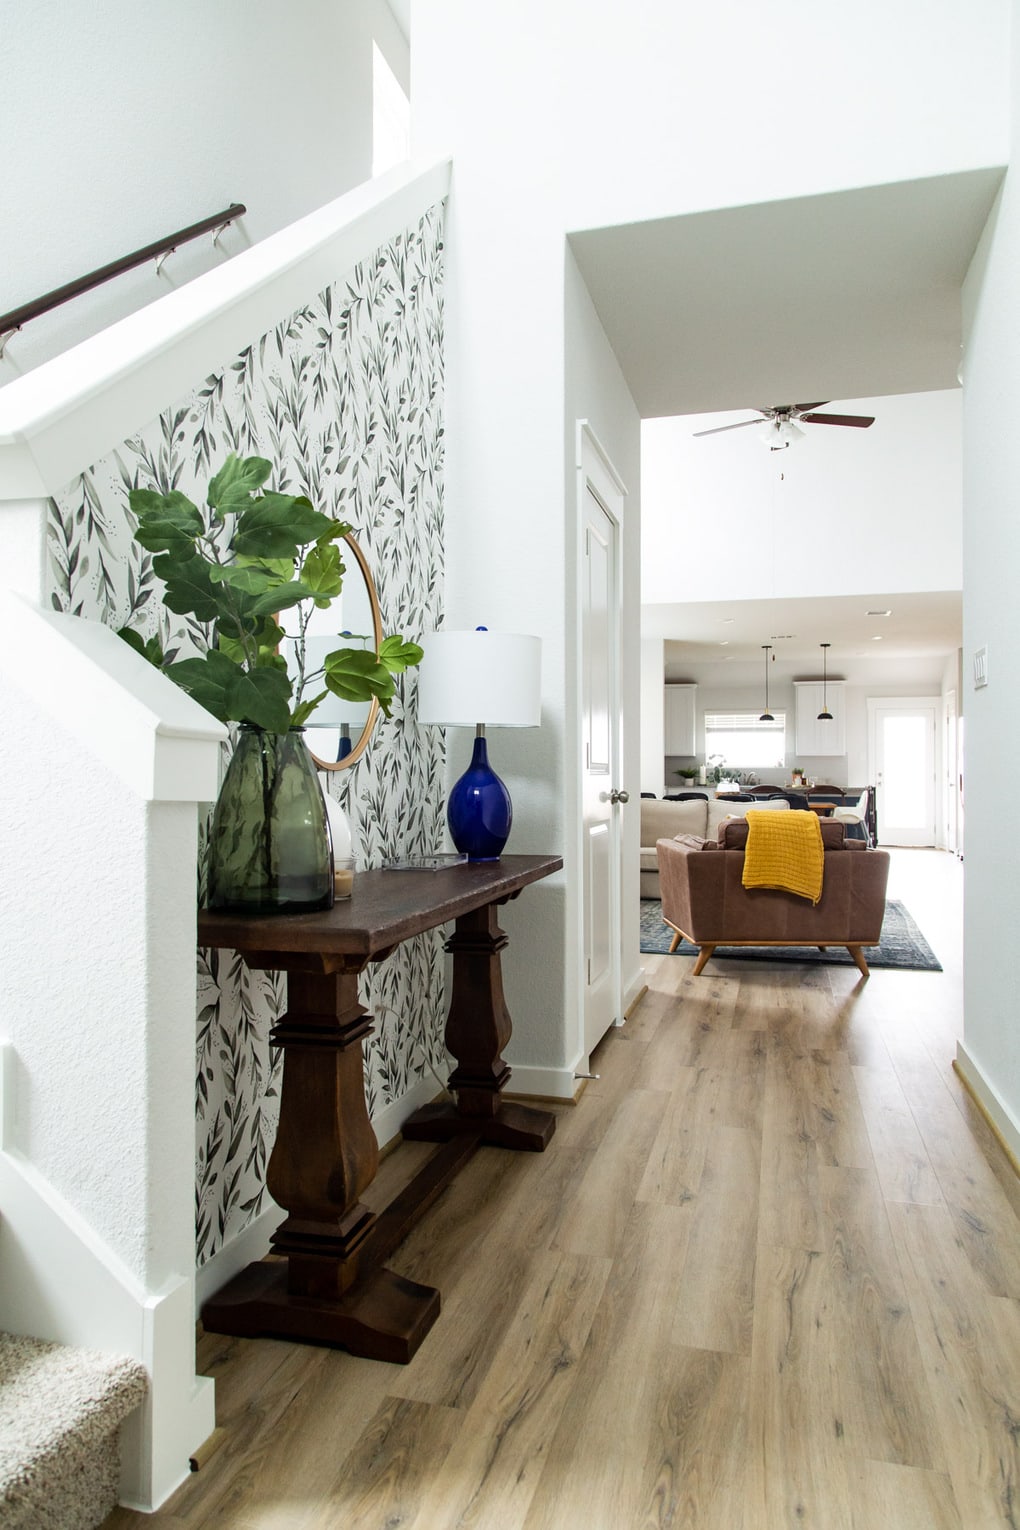
This project was, for me, the best ever reminder that sometimes the tiniest spaces in your home can have the biggest impact. This is just one small little wall in our home and, in the grand scheme of things, would be an easy space to end up ignoring. But taking the time to truly focus in on this space and make it gorgeous has had the biggest impact on how our entire home feels!
Thanks to the open floor plan we have, this tiny little wall is visible from most of our main living areas, which means that it’s a small space with a huge impact. It’s like this giant punch of fun right when you walk in the door and this whole project was a great example of how sometimes the spaces you’re tempted to ignore because they seem small or insignificant can actually make the biggest difference.
Let’s break down the details of how we got here (and how you can get the look in your house too!). NOTE: All of the items used in this room are linked at the bottom of the post!
DIY entryway makeover with The Home Depot

adding wallpaper
The first step was to add some wallpaper. I hadn’t ever worked with peel and stick wallpaper before – and I hadn’t ever added wallpaper on walls that are as thickly textured as these are, so I wasn’t positive how it would work out. But, if you know me you’ll know that I have no problem trying and failing if it means I learn something new, so I figured I’d just go for it.
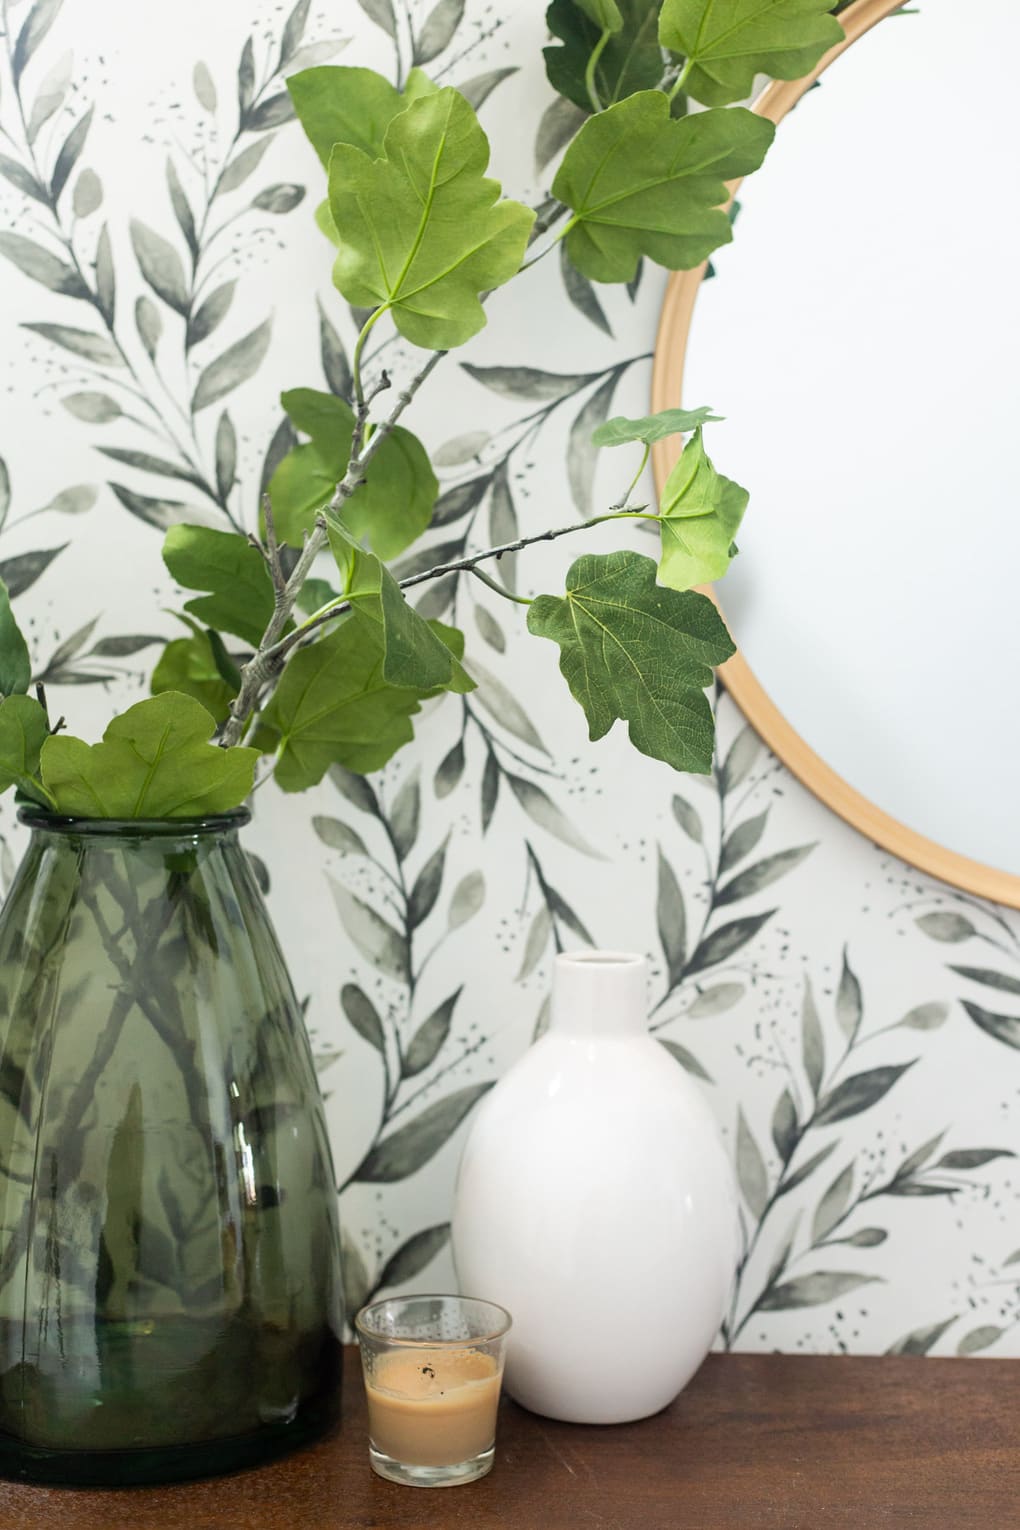
I chose this gorgeous Magnolia Home wallpaper – I wanted something neutral enough that it would blend in if we decide to change things up over time, but I still wanted it to feel dynamic and impactful. I’m in love with the wallpaper and I honestly want to put it in every room. It’s so gorgeous!
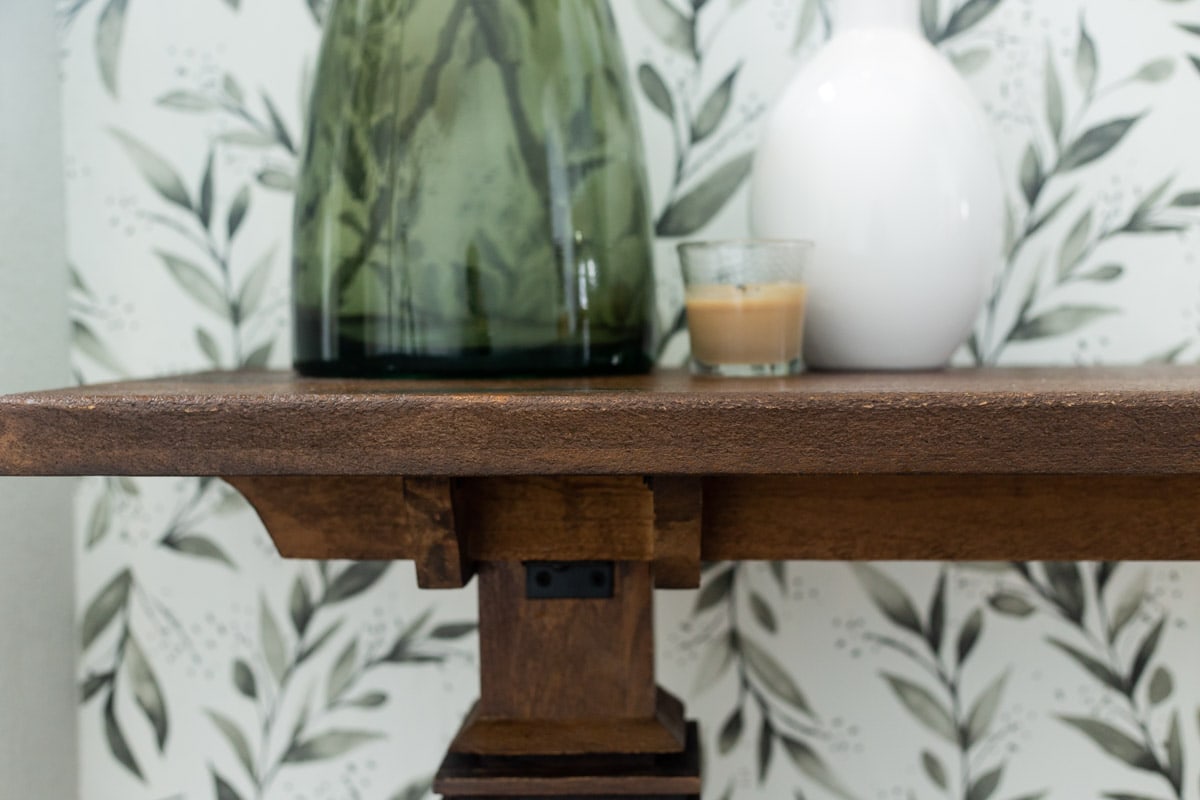
I was pleasantly surprised to find that this wallpaper is so thick and high quality that you can’t even tell the wall underneath is textured unless you get really close and look at it from just the right angle. From straight on, you’d never know it’s on top of a textured wall!
Of course, I should note that the directions do state that this should only be used on smooth walls – so your mileage may vary. But, aside from needing to press it down a little harder than I might have needed to on a smooth wall, I had zero problems. I intentionally installed this wallpaper as early in the process as possible so that I could give you an official verdict after some time (and not just right after hanging it), and I am thrilled with how it turned out. I haven’t had any peeling issues at all, and it looks just as good today as it did when I installed it a few weeks ago.
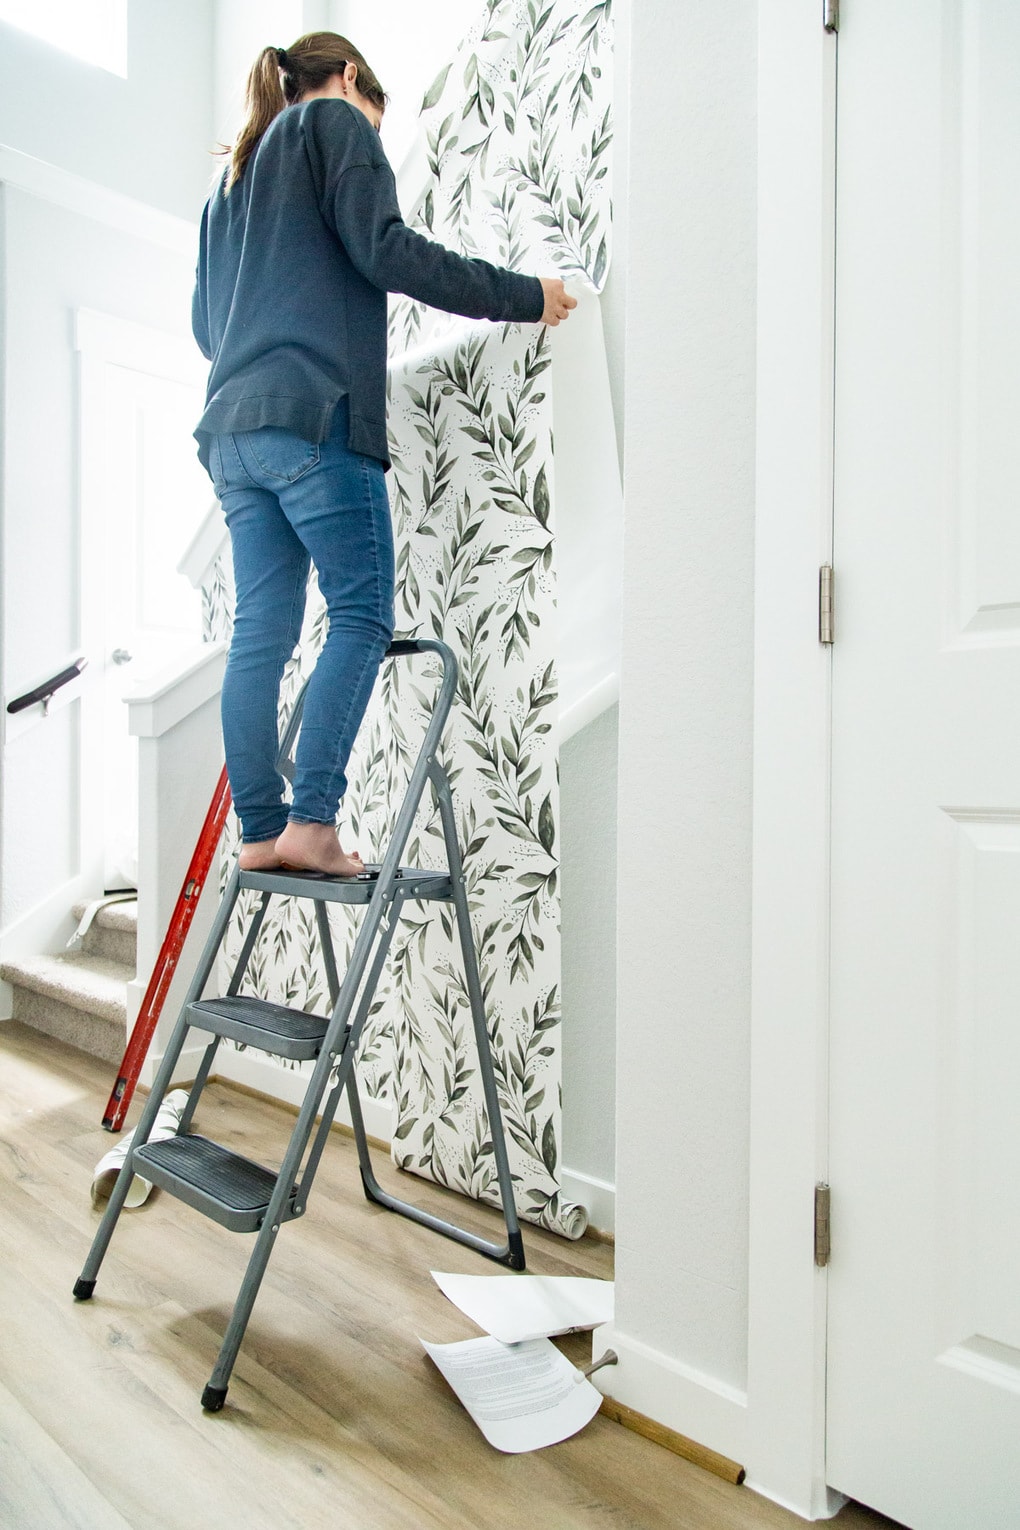
Installing peel and stick wallpaper is super simple (even on textured walls!) and all you need is a level (to make sure you hang that first strip perfectly straight), and a utility knife with a super fresh blade. Depending on how much paper you’re installing, you may want to replace the blade once or twice after you go. I wouldn’t cut more than 3-4 strips without switching out to a fresh blade to avoid tearing the paper.
I needed two rolls for this wall – you can just look at the square footage listed on the roll of paper and use that to determine how many rolls you’ll need, but be sure to consider that you’ll have some waste from lining the pattern up. Due to the angle of the wall, I ended up with quite a bit of wasted paper, but that’s just part of installing wallpaper. Just be sure to account for that when you’re purchasing!
Accessorizing
Once the wallpaper was in, the rest of this makeover was just bringing in smart, beautiful pieces that would function well for our family.
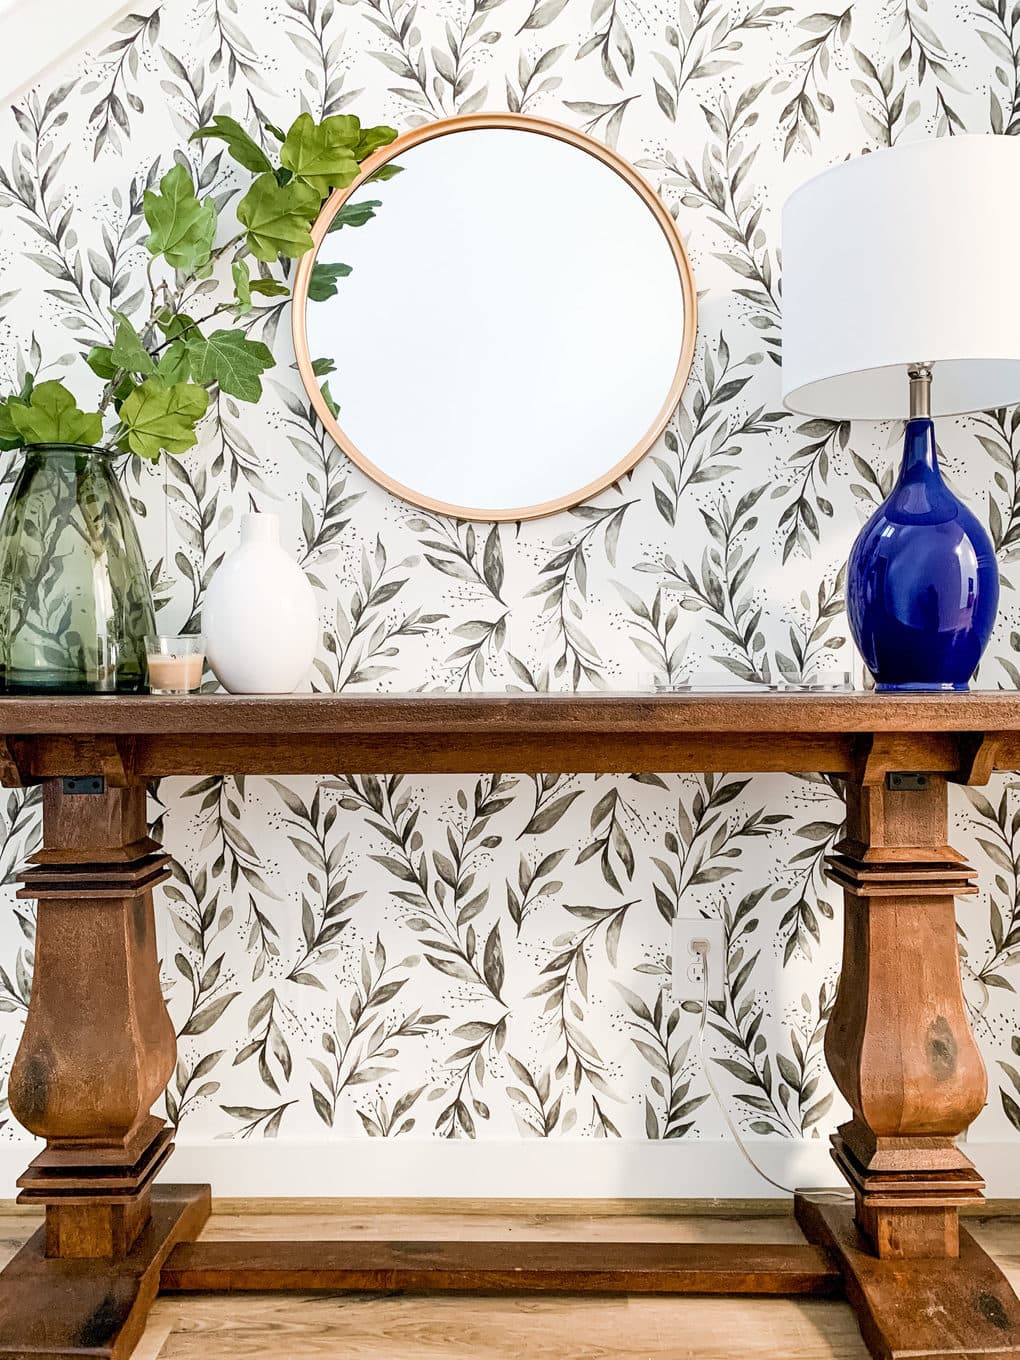
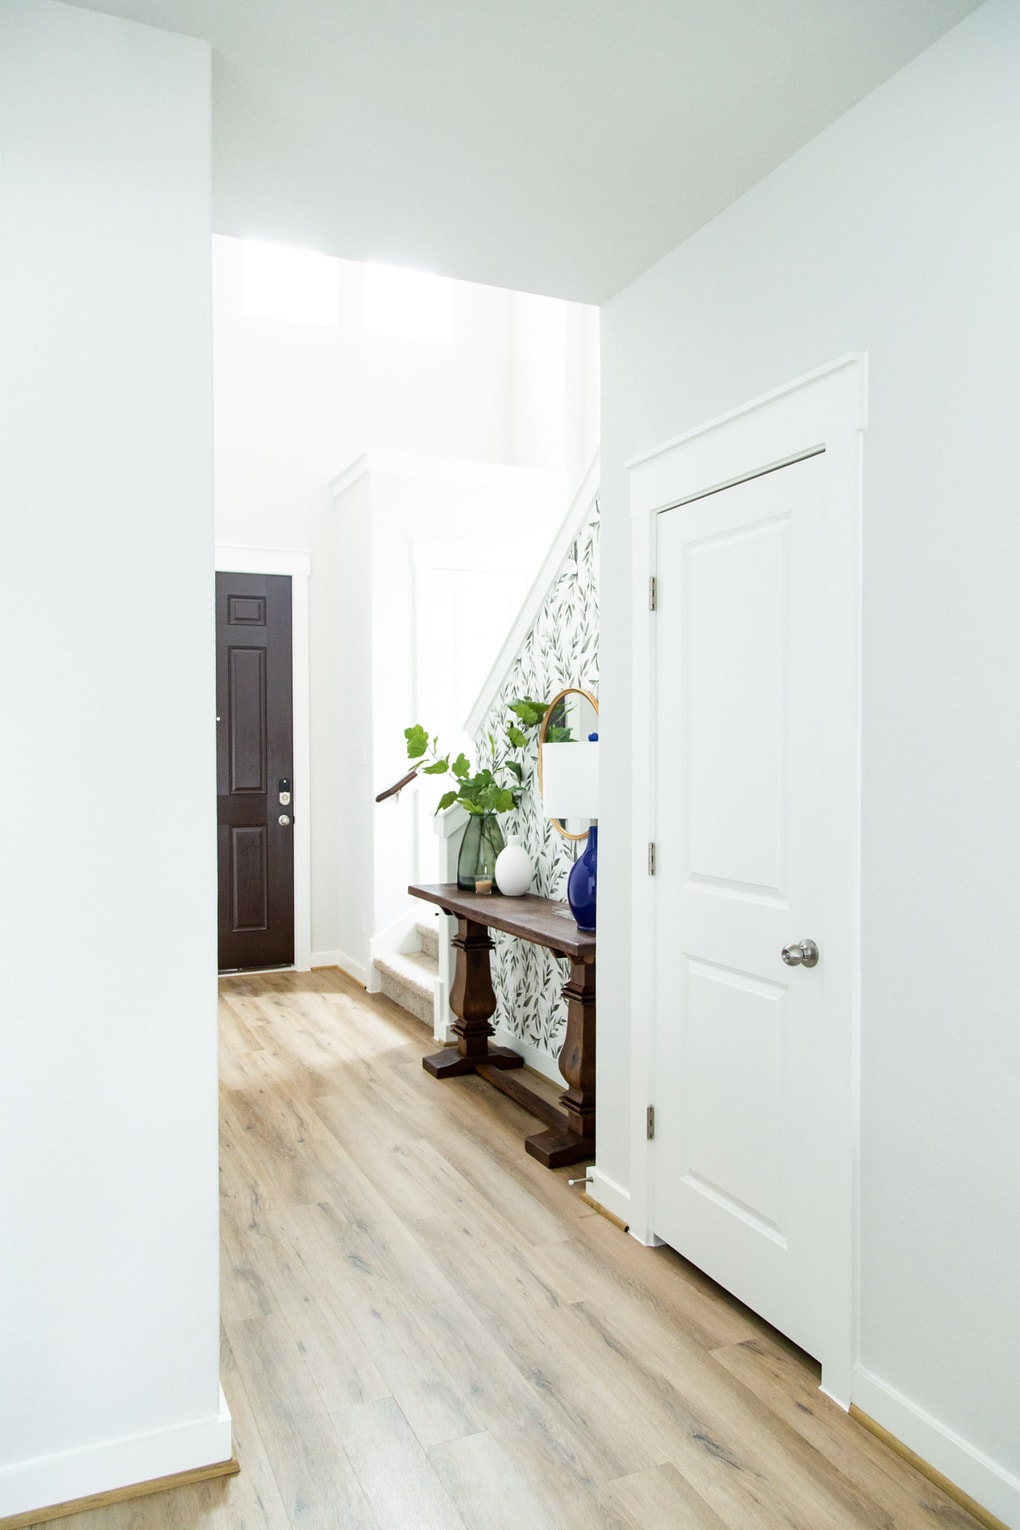
We started with the Home Decorators Collection Aldridge Antique Walnut Console Table which is basically the table of my dreams. It’s so chunky and substantial, but it doesn’t feel like it weighs the room down visually at all. It’s well-made, solid, and the color plays perfectly with the wallpaper.

Once the table was in place, we also added this Home Decorators Collection mirror (because every entry needs a mirror), a lamp, an acrylic tray for dropping keys and sunglasses, and a few other accessories.
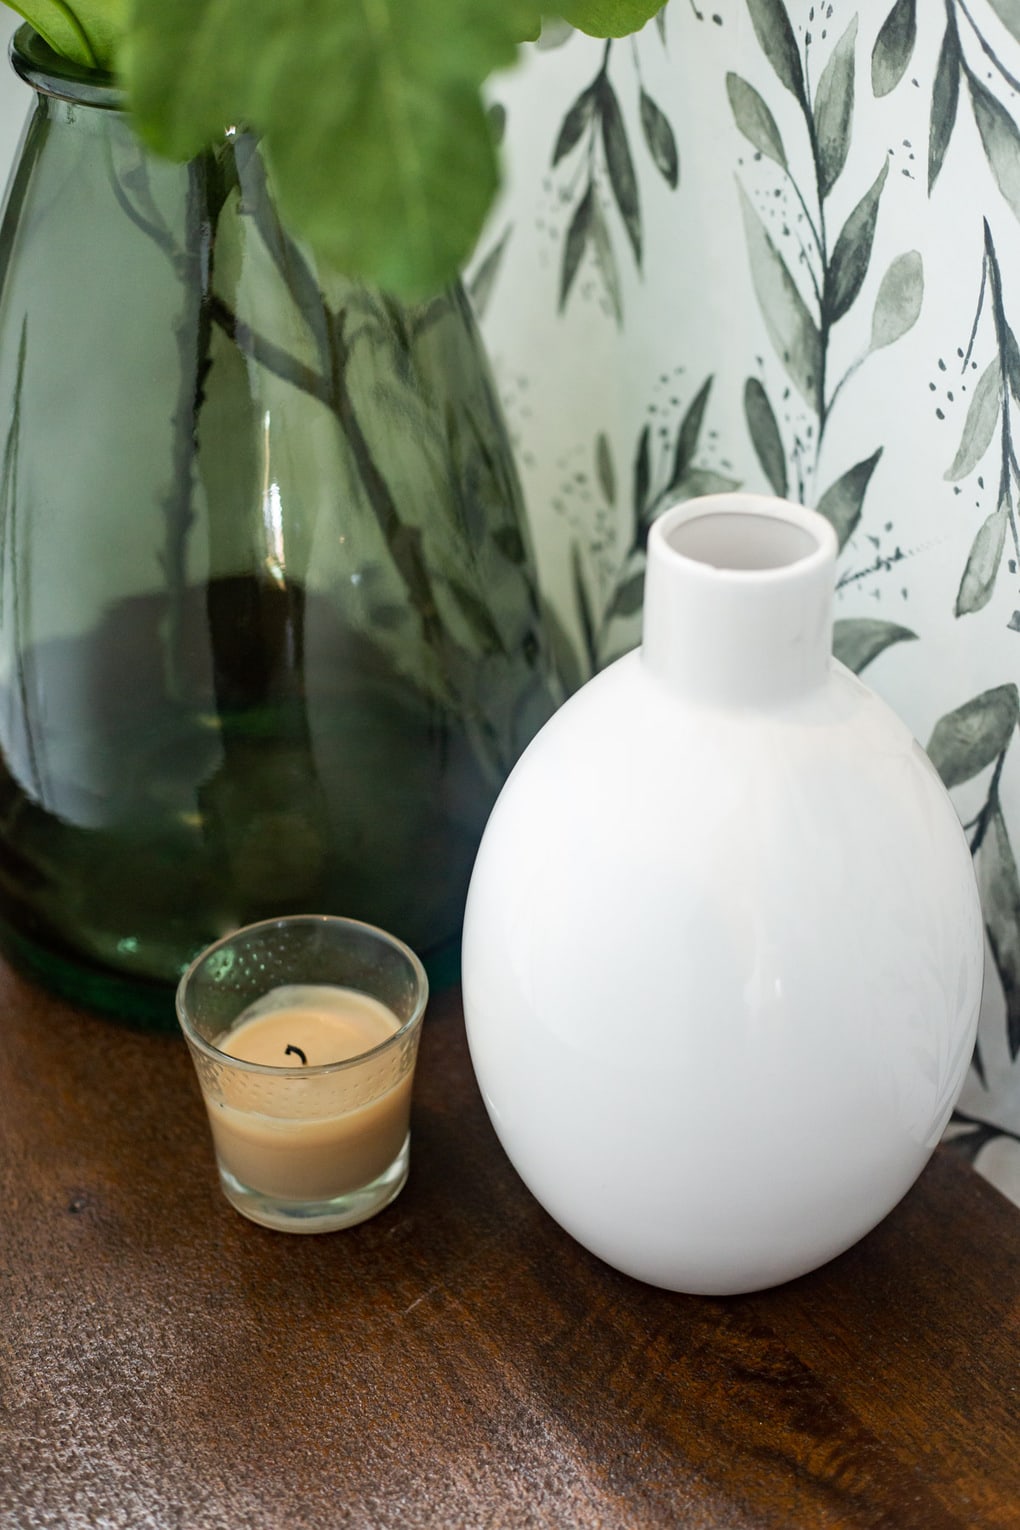
My favorite part is the ginormous glass vase – it’ll be perfect for adding fresh (or faux) greens throughout the year
One important thing we considered with this space when it came to the furniture and accessories is scale – the entryway isn’t large at all (it’s actually pretty narrow, as you can see), but the ceilings are 20-feet tall so we wanted to try to emphasize that and make it feel a little more grand. By choosing really substantial pieces (like the chunky table, large vase, and graphic wallpaper), we helped it feel even bigger – and when you combine that with the height of the room, the whole space feels so grand!
Here’s a quick list of everything we added to the entry:
Entry Sources
- Magnolia Home Olive Branch Peel & Stick Wallpaper
- Home Decorators Collection Aldridge Antique Walnut Console Table
- Home Decorators Collection Round Gold Mirror
- Annabelle Indigo Blue Table Lamp
- StyleCraft Smoke Glass Vase
- Urban Trends Collection White Stoneware Vase
- Glade Cashmere Woods Candle
- Lavish Home Catch-All Acrylic Tray
I shared a lot of the process of putting this space together over on Instagram stories – if you missed any of it and want to catch up, you can click here and watch my highlight!

It feels so wonderful to have this space done – it’s the very first thing you see when you walk in the door, so it was important for me to get it right. And, oh my goodness, The Home Depot delivered with their amazing online decor selection!
One more before and after for the road, shall we?

Swoon!
A giant thanks goes out to the team at homedepot.com/decor for partnering with me on this (incredibly fun) makeover. I cannot wait to get started on our next project with them – any thoughts on what space we should tackle next?!
The post DIY Entryway Makeover {With The Home Depot!} appeared first on Love & Renovations.